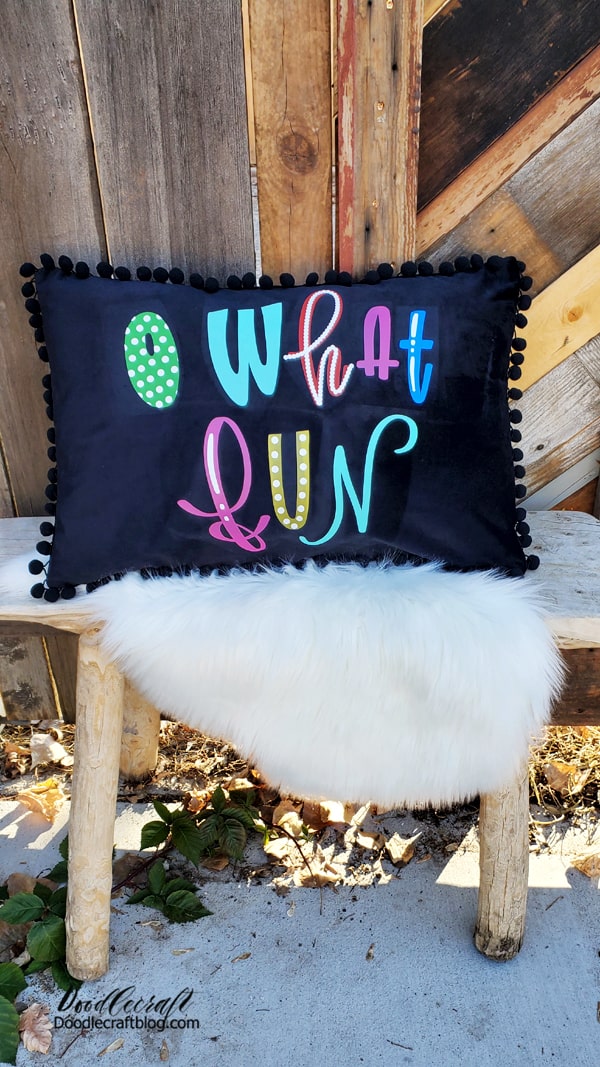
Layered Iron-on Vinyl 'O What Fun' Pillow
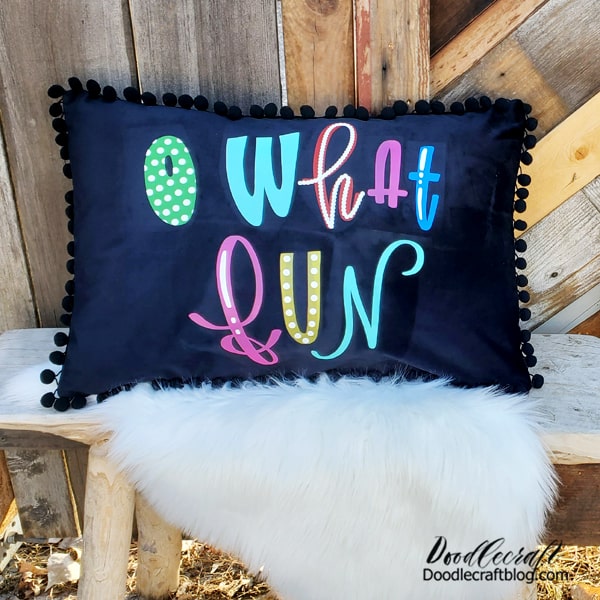
Pillow "O What Fun" with vinyl pillows with hot melt adhesive
Oh, how fun! This layered pillow is perfect for Christmas, but for unusual colors at almost any time of the year.
I am very happy to use my Cricut Maker to create a design in minutes. Handmade is the best way to make holiday gifts, decorations or other interesting things ... and it only takes a few minutes!
I love the ringing of the bells and the fun it creates when we read aloud in the car in the style of a Christmas story. This is one of my favorite songs.
Inspired by Jingle Bells, this hilarious pillow is part of Fairfield World’s annual pillow party! This year a group of bloggers came together to highlight a back pillow!
It’s a fun and perfect size to add a little to your holiday decor.
*** We are also planning a great gift, see the end of the article!
The prize is a $ 100 gift voucher for the JoAnn store and a £ 10 Poly-Elephant box!

Fairfield World sent me this pillow for this message. The rest I bought myself and of course used Cricut. Let’s start by including links to participants.
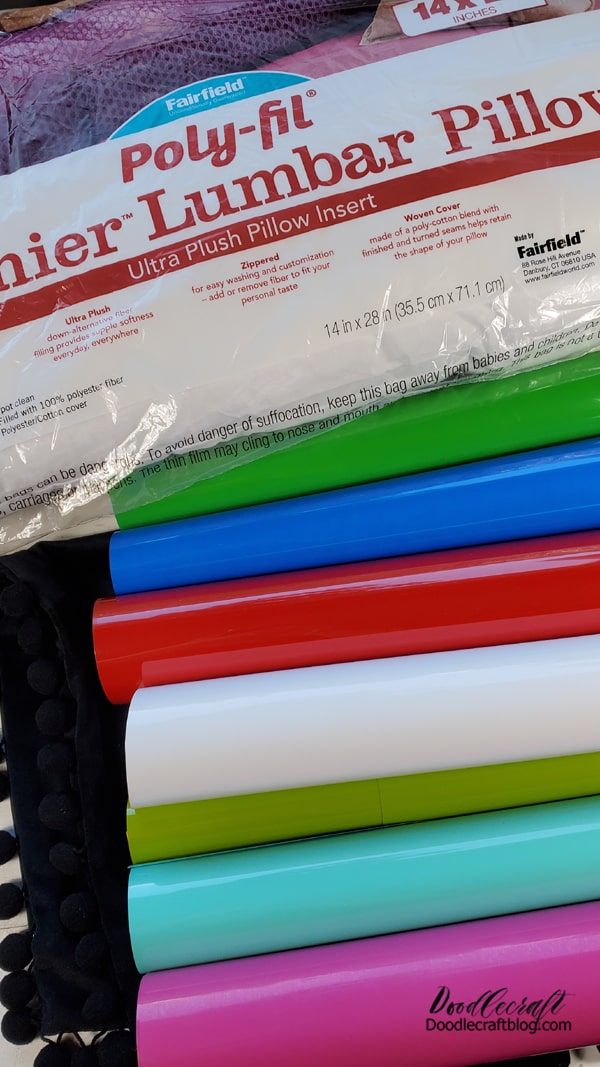
Required materials for multilayer heat-sensitive pillows:
Different colors for daily ironing (ie overlapping items)
Start with a fascinating design. At church I took a picture of “O What Fun” on my iPad pro. I divided the layers to apply to some letters white ironing details. I like that it’s my design.
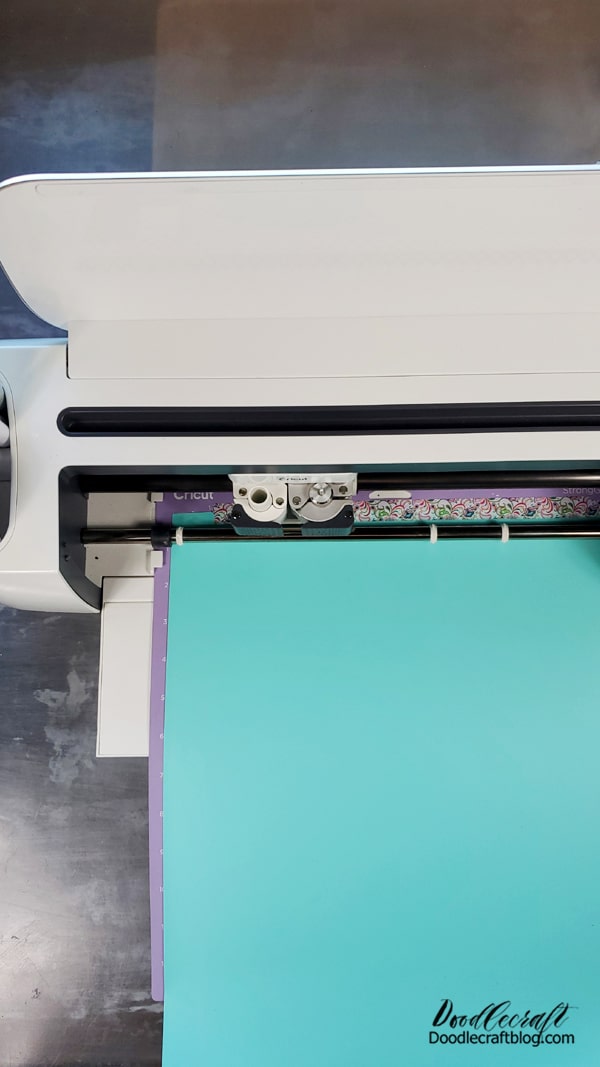
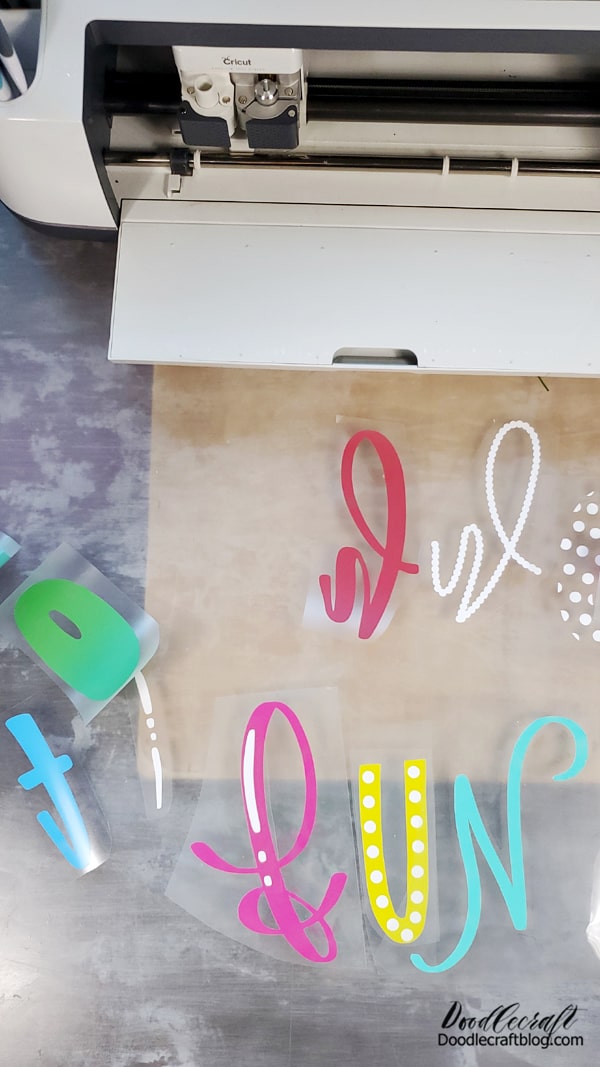
Step 1: Cut the iron
Enter a design in Cricut Design Space and paint it. Then ask Cricut to cut each layer of iron. It’s a process, but it’s worth it because of the hilarious variety of colors.
Iron the iron and put it in the pillowcase.
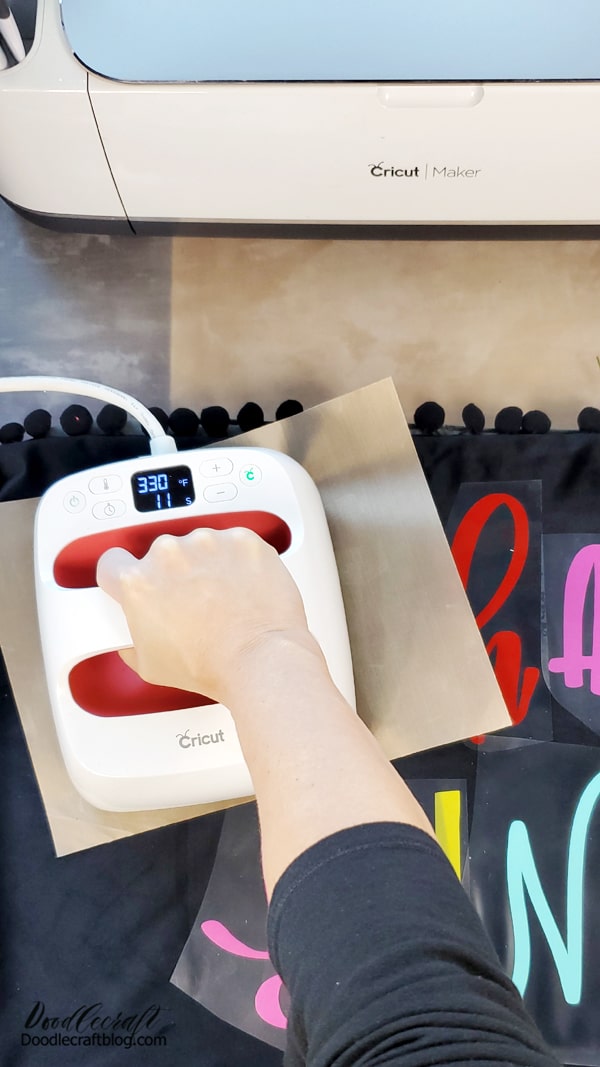
Step 2: Iron
Heat the EasyPress and lay out the letters on the pillowcase. Then remove the top (white) ironing board and iron each letter separately. Use a thin layer to protect the pillowcase from direct heat.

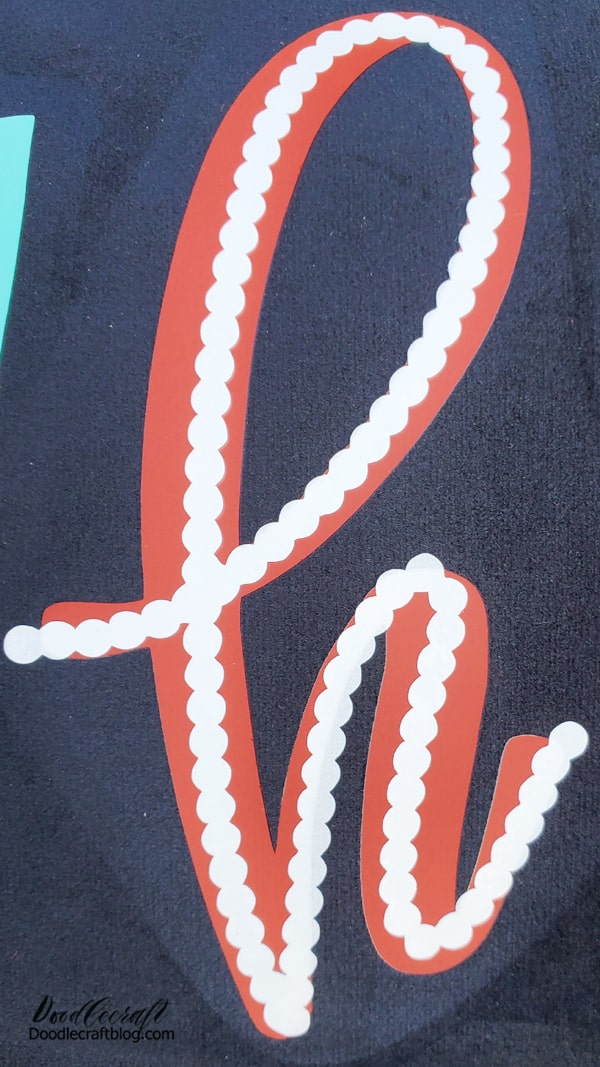
Step 3: Low iron
After applying the first layer of ironing and cooling, remove the cover sheets and put a white ironing accent on the letters.
Then move the cover to protect all the text. Place a Teflon protective layer on top and press EasyPress.
Allow the iron to cool completely and remove the support layers. There are traces of pressure on the pillowcase, I think it comes out when you wash it ... or turn it over and iron it.
That's it!
Layers are easy to apply and a lot of fun!
What can you include in the lyrics of your favorite song?
Like, bookmark and share!

And now the presents!
Here we are giving Joe a $ 100 gift certificate and a £ 10 Poly-Elephant box!
Take part in the free lottery at the end of this article. Also check out other great spiritual ideas and get all the gift details here.


