How to: Doll-size crate console. An experiment
If you've been following this blog for a long time, you may know that I're now making wall և accessories for my doll photos. My goal is to have a number of pillars that I can mix and match to add variety to my photography; Instead of doing big dioramas on the subject, I have no place to sit. Some are based on someone else's ideas, while others are my original ideas.

As I was making mydoll-sized bookcase , I started thinking about other types of furniture that could be made from boxes, but it didn't take long. So it occurred to me to make a doll's size because it only had two boxes, so it would be easier to make several different colors. I'm not sure if this panel is the right name for this type of furniture. As I understand it, "furniture" can be the furniture that is often found in the hallway, where the keys can be left on the way home.
Since I did not have a visual link for this craft, it was quite difficult to see the end result. I have made some mistakes, but fortunately, if I do the second version of this craft, there is nothing that can not be corrected. Also, due to the epidemic, I could not get all the necessities I needed, so I had to work from home. So we can not wait.
For this job you need:
- Eskimo sticks.
- Car. I always use vinyl glue, but hot glue is also good.
- Wooden pegs.
- Sticky sticks for cutting with scissors.
- Small saw for cutting wooden pegs.
- Hand painting.
- Brushes.
I posted a few posts on how to make doll-sized boxes, but decided to try a new box design for this project. However, if you decide to recreate this design, you can do so with the original design of the box.
To get the right size for this piece, I draw two 6cm wide rectangles on paper for visual comparison next to my doll. Here is a comparison with my colored boxes.

I start by laying 5 paint sticks միշտ 6 cm (2.36 inches) as usual.

Cut them along the drawn line. For that I use scissors, which greatly simplifies the cutting process.

Collect all the chopped sticks. Measure it to cross the stick. I make it a little shorter than the width of the sticks. This will be part of our panel, so we do not need sticks.

Install a field of view. I glued them a little to the edge. Align the edges if your parts are defective.

Measure the wood to the same width as the long piece և cut it.

You need to cut 4 pieces on one side of the box.

Measure և Cut the other two pieces to cross as we did. Glue them to the edge this time. You need to make two of these pieces on each side.

Now is the time to harvest. Take the first piece you made և put it on the right side up (cross pieces down և). Then stick to one side of the face that is open on the outside.


Repeat with the second part. This is what you need to do.

Now is the time to "connect" the two sides. Let's start measuring the rod with the same width as the blank.

Cut և paste them. Make sure you start from the top և bottom և and finally leave the center. Remember, you have to do it from both sides.

Finally our box is ready. Here's a comparison with a simple molded box so you can easily see the difference.

Make two boxes. You can work on two at the same time, or you can work on each other whenever you want.

Now comes the time for my favorite part, painting. I chose Coral Blush from Americana Acrylics because I wanted to add something bright to my background to add some color.

I like to paint the parts before gluing and touch them if necessary.

When the paint dries, it's time to glue. Try to hide your possible mistakes.

This is where it all starts south. Since I was busy with other things, I left this project for a few days չ I did not have time to finish it. Expecting the weekend to end, I woke up with a migraine that lasted 4 days. I decided to continue the first day when I got better, which is probably why I did not make the best choice. But let's continue.
Now is the time for feet. In my original idea I wanted to use square legs, but nowhere could I find square wooden sticks or homemade sticks. When I started the project, the situation here was quite alarming, և because the restrictions were more severe, I decided to use what I had at home, it was wooden round heels. I decided to go with a thinner one.

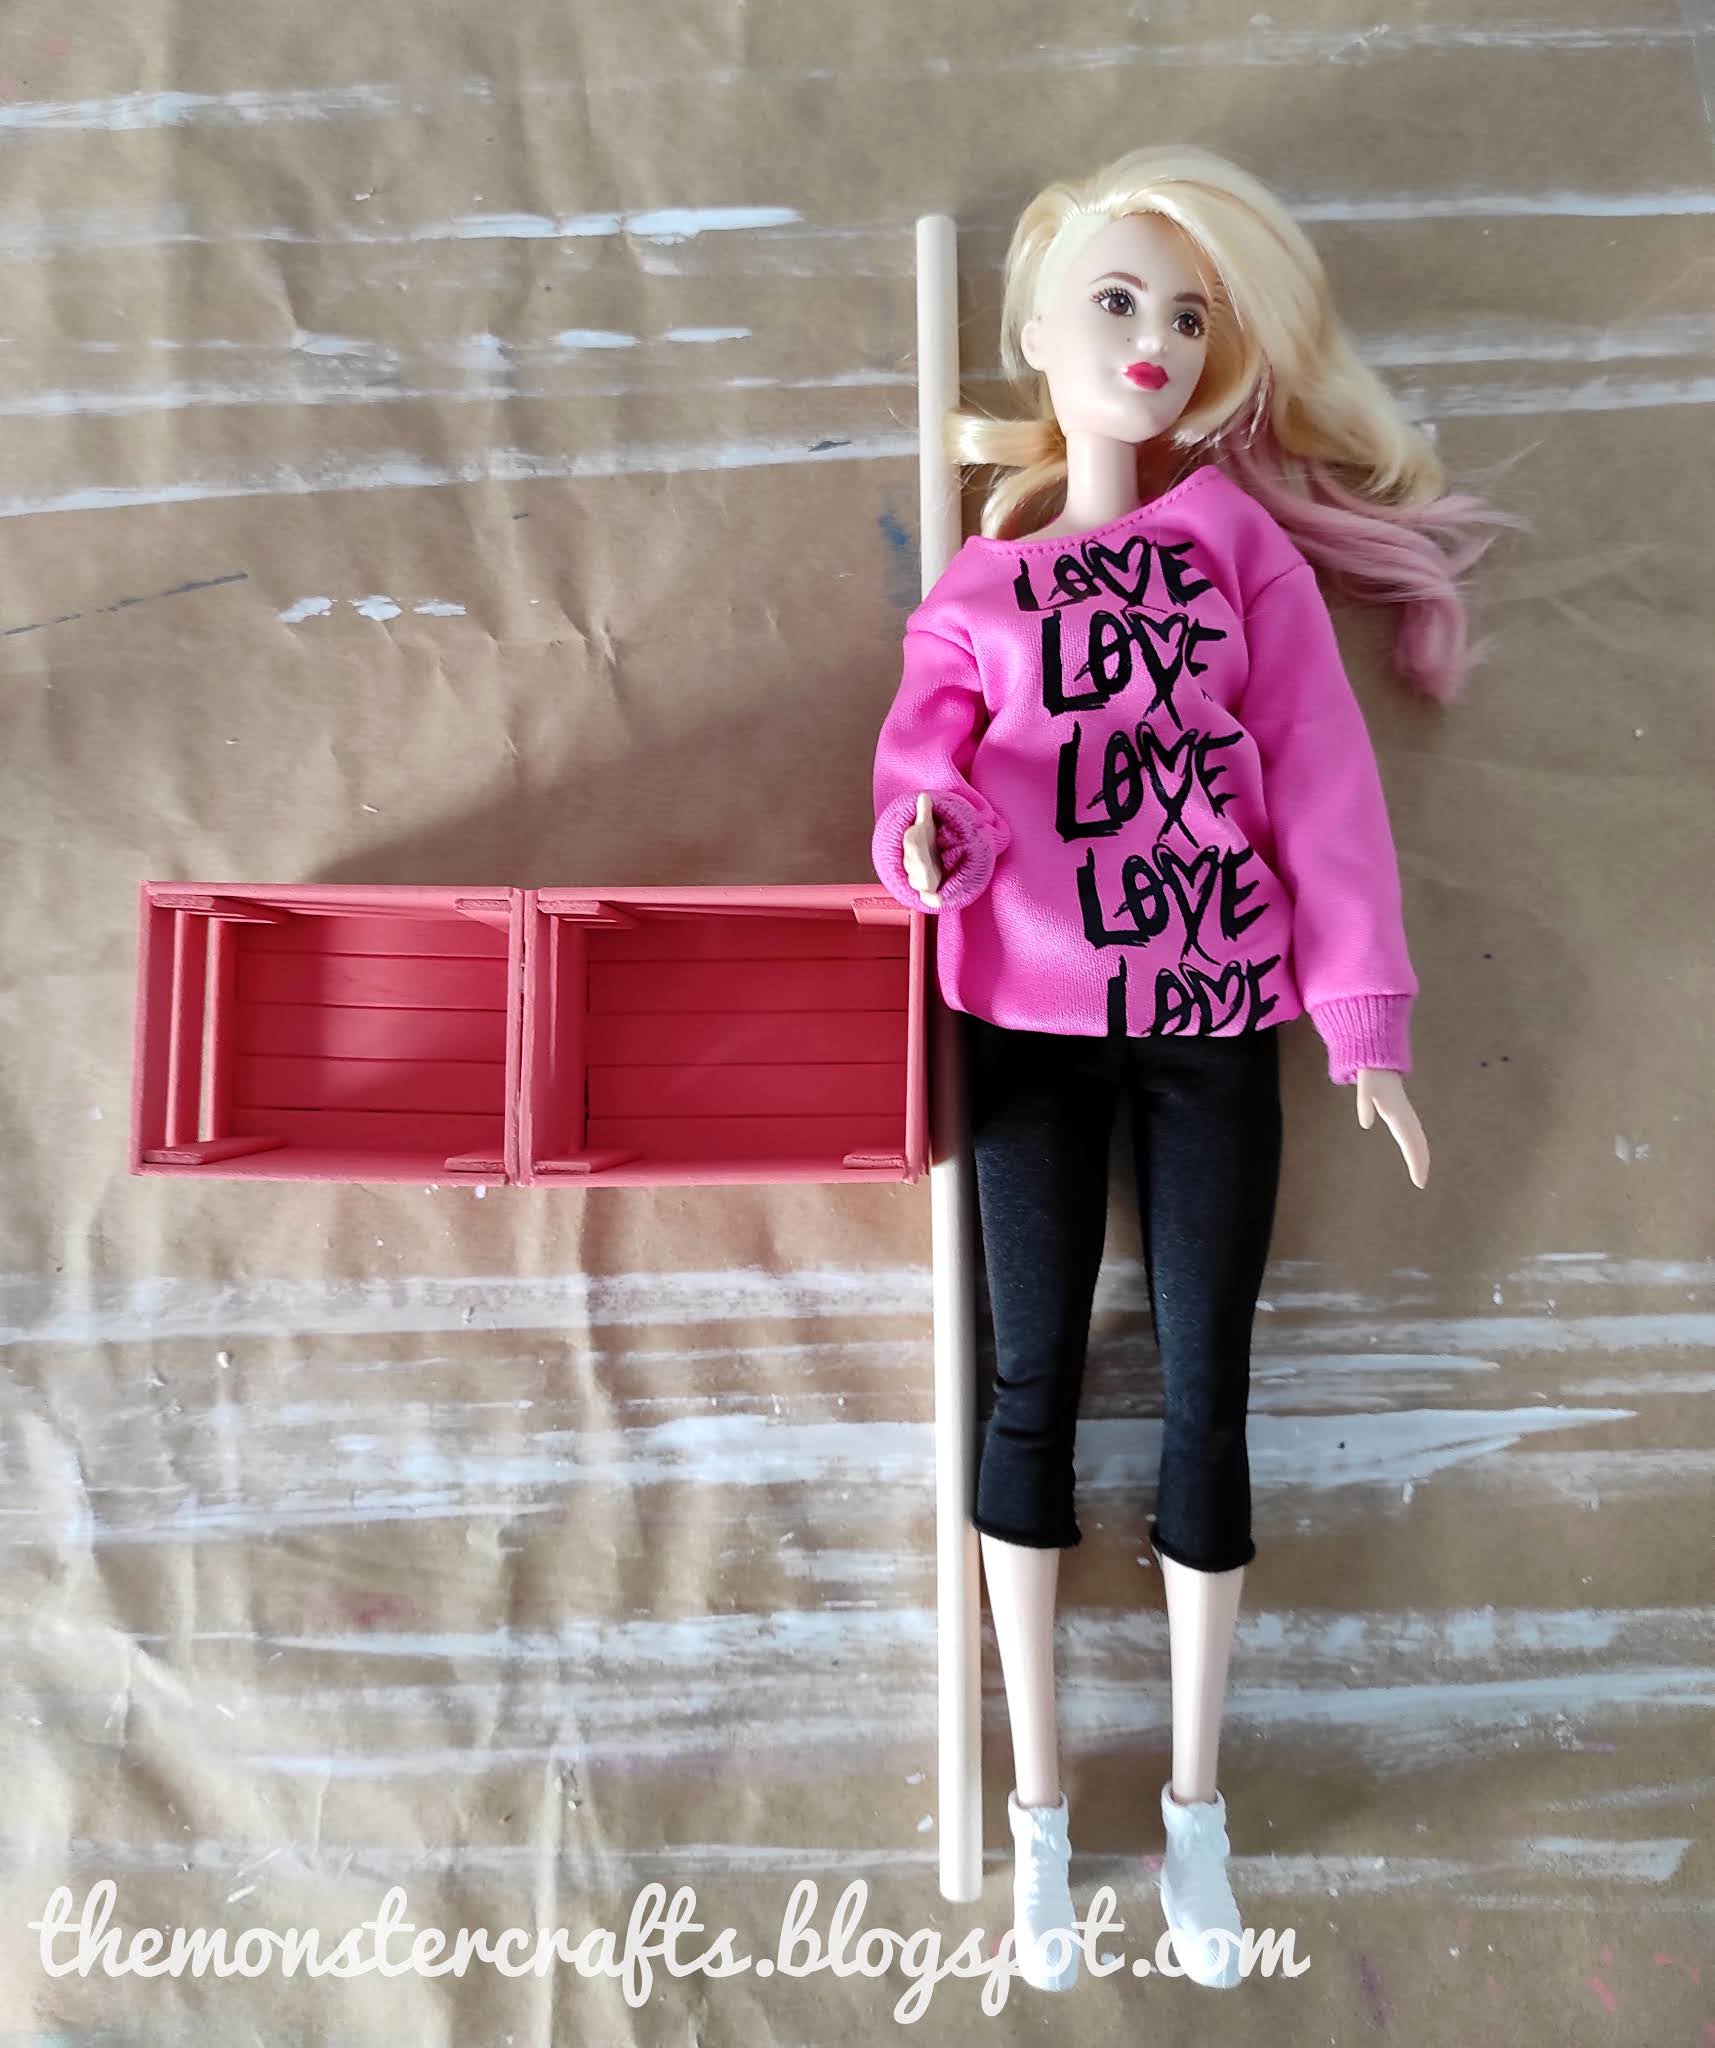
Taking the doll as a guide, I thought it was the perfect size for 12 cm (4.72 inches). Spoiler, then I will know that they are very long.
Now is the time to cut them. I decided to look at the small saw I had at home, as the pruner could leave a mark on the heel. Hold them firmly with a screwdriver or someone to help you see them. For me personally, it was easier than using the hug that Mr. Monster kept for me.

If you make a mistake while cutting, sprinkle it with sand.

Here is what we have. They must be done 4.

It's time for the coloring process. It was a small experiment as I have never painted it with acrylic wood. I tried two techniques. First, I mixed brown acrylic with lightweight primer (similar to lightweight, medium acrylic paint). Second, I diluted the brown acrylic with water. I kept the rest of the paste sticks to try the paint first և to choose the technique that works best. I chose liquid, for example, acrylic water.

As you can see in the photo below, I chose cool purple for brown. Here's how my heels looked like a coat.

Since I did not think this color matched the boxes, I tried to warm it up. I mixed the water with another dark brown American chocolate , which fortunately was warmer. I had to apply two coats of warm brown on the pins until I got a comfortable color. Despite the initial mistake, I am very satisfied with the final result. If not, my "Plan B" was to paint it brown.

Remember when I said I'm sorry for taking so long? Well, I did a little testing before putting it on my doll, I did not like the way it was. Then I cut 1 cm from each stem to the end, leaving the legs 11 cm ( 4.33 inches ) apart. So yes, if you do, make sure your feet are the right size from the start.
Now is the time to put your feet together. Before I begin, I measure where I need my feet because I can not see.

Glue them together և wait for the glue to dry. Turn. I put too much glue on one leg, it accidentally slipped and did not fight on the front.

Now is the time to stop and move on. I'm not going to lie, I thought it was awful. The proportions are not so good, and the legs are obviously too long. He thinks that if I found a tick, it would be stronger. I was very disappointed.
 |
| pilot shot |
However, if I did not like it, I decided to try it in one scene. To my delight, it's not as bad as I thought.

The proportions are not so good, և the color is not what I expected, but the start is good. Remember, this is just a photophone, not a focus.

Overall, I'm very happy with this project, despite some drawbacks. I would do it again, but with some tricks, trying to improve (her, shorter legs). Now that everything is calm down, you can go outside and find some square wooden sticks. I would also like to start working on other miniature crafts and furniture that do not have sticks. I like to do this because it is very easy to find most people to work with, but I also want to try new things.
In my next post I want to talk about the upcoming Monster High reboot. I know I'm late for the party, but I really want to think about it, not rush to tell the news. I do not know what I will write about later, I am a little "confused".

In other news, I completed an HTML course last week. It has a deeper second part, but this week I decided to take a break to work on the content of my blog. Mr. Monster continues to work from home. He was only home for a month until mid-February, but his company decided to stay home until mid-April. I like him because he keeps me company while I embroider, he loves her because he can wake up later.
So what do you think? Will you do such a thing? Would you like to see more "pallet furniture" or are you tired?
I hope you are well և see you in the next post.
Create monsters
Check the doll label for further work.


