Paint Pour Pumpkin Wood Sign for Autumn!

Autumn is just around the corner, you can practically smell the pumpkin spice! This fun paint poured pumpkin is the perfect Fall decor...but it's best to do it now, because it takes weeks to cure!

Draw Pumpkin Wood Sign for Fall!

Autumn is fast approaching, you can almost smell the pumpkin spice! This fun pumpkin painting is the perfect fall decoration ... but it’s great to do now, as it takes weeks to harden it!

Paint pouring is so much fun! It's the perfect craft for any skill level and it's highly addictive! This cute pumpkin wood cut out is available at Oriental Trading, the perfect place to find everything for every occasion.

It’s so much fun throwing paint away! This is the perfect craft for any skill level and is very addictive! This nice pumpkin wood cut is available at Oriental Trading , where you can find everything at any time.


Pumpkin Painting Supplies:

small paper cup
Great mixing glass
shake the stick
plastic tablecloth or garbage bag

Supplies Needed for Pumpkin Paint Pour: Pumpkin Wood Cut Out Acrylic Craft Paint Pouring Medium Small Paper Cups Large Mixing Cup Stirring Sticks Plastic Tablecloth or garbage bag

First, place a plastic tablecloth on the work surface.

Begin by setting a plastic table cover on your work surface.

Then place the cut wooden wedge on the table with a small paper cup.

Then prop the wood cut out on the tablecloth using little paper cups.

Mix one part medium to clean the paint and one part paint and mix well in a small glass.

Mix one part of the Paint Pouring Medium with one part paint and stir them up carefully in a little cup.

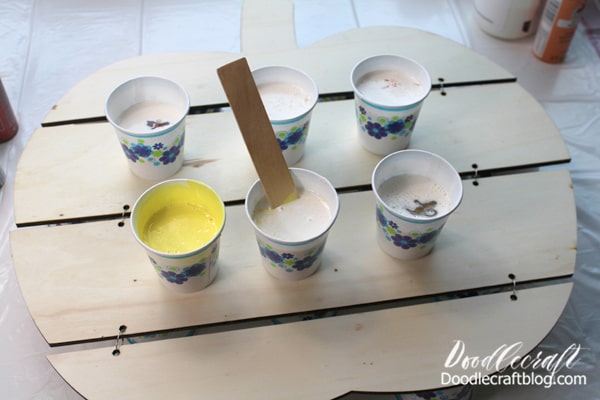
Mix a few cups of white, some turmeric and some shades of orange. Add a little metal gold for fun!

Mix up a cup of white, a couple shades of yellow and a couple shades of orange. Add some metallic gold for fun too!

Then change the colors of the mixed paint and pour the mixture into a large glass. Put the colors in the bowl as desired.

Then alternate colors of mixed paint and pour them in a larger mixing cup. Layer the colors in the cup like a bullseye.

Then pour the entire contents of the cup over the whole zucchini.

Then simply pour the entire contents of the cup all over the pumpkin.

Lift and bend slightly to paint the entire surface of the pumpkin wood.

Lift and tilt the pumpkin around a bit to get the paint on all the wood surface.

Then mix the gold and brown and pour over the stick.

Then mix up the gold and browns and pour them on the stem.

Now the smart thing is that the paint is dry. Bubbles will be created that can explode with a flashlight or a stamping gun. Do not overheat the paint, otherwise it will harden and crack.
Actually, it should be dry for a few weeks. The slower it dries, the better. Do not heat or put in the sun.

Now the tricky part is to let the paint dry. Some bubbles will form and can be popped using a torch or an embossing heat gun. Do not apply to much direct heat to the paint or it will harden weird and crack. Really, this needs to dry for a couple of weeks. The slower it dries, the better. Do not warm it up or place it in the sunshine.

After drying for about 4-6 hours, carefully place the lid on the box so that it closes. This protects the paint from insects, hair and dust. Then let it harden for 2 weeks. Then you can finish the top with pure glitter and hang it to fall.

After about 4-6 hours of drying, transfer it carefully into a box, so you can close the lid. This will prevent bugs, hair and dust from falling in the paint. Then let it cure for seriously 2 weeks. Then you can finish off the top with clear gloss and hang it up for Autumn.

That's it! You are sure to be addicted to watering your paint!
Like, anchor and share!


Check out these other fun paint-throwing articles!

8 Awesome Acrylic Paint Pouring Tutorials for Beginners!


Facebook Follow me on Pinterest Youtube Instagram Twitter
Postscript
Next Post Previous Post
No Comment
Add Comment
comment url