How to: doll size crate shelf/bookcase
Wow, I can't believe I'm back with another crafting lesson. This is my fourth craft-related post this year, which is kind of weird since I usually post every blue moon. I'm not complaining, I'm very satisfied. I originally started this blog with the idea of building a dollhouse and furniture for my Monster High doll, but that never came to fruition. You know, life got in my way and I couldn't get out of it. Besides, he didn't have much space in his old house. Now that I'm in a new place and have more free time, I want to make the most of it.

When I started working on backgrounds and photographing, I realized how little doll furniture I had. I have a few ideas such as: B. I have a type 2 recycling kit, but I can't find the materials I need. While working on my colored squares, I thought maybe I could make a shelf out of boxes, because they are so easy to make. I remembered that My Froggy Stuff did something similar not too long ago, so I watched the video for inspiration. Here's a video.
I was watching the video when he uploaded it and I more or less remember what he was doing. I was very worried about the correct size so I double checked that my box was the same size as theirs. He made it 2 and 3/4 inches, or 6.99 cm. My box is 8 cm, so it doesn't make much of a difference. To get a rough idea of the size of the shelf, I stacked the boxes I had and took a photo of the dolls for reference.

This is my third post on the box, so I don't think I need to overdo it. The way Froggy makes the box is very similar to mine, but there are a few differences. I don't think any technique or mine is better than others, but I thought you might be interested in seeing the differences and deciding which technique works best for you.
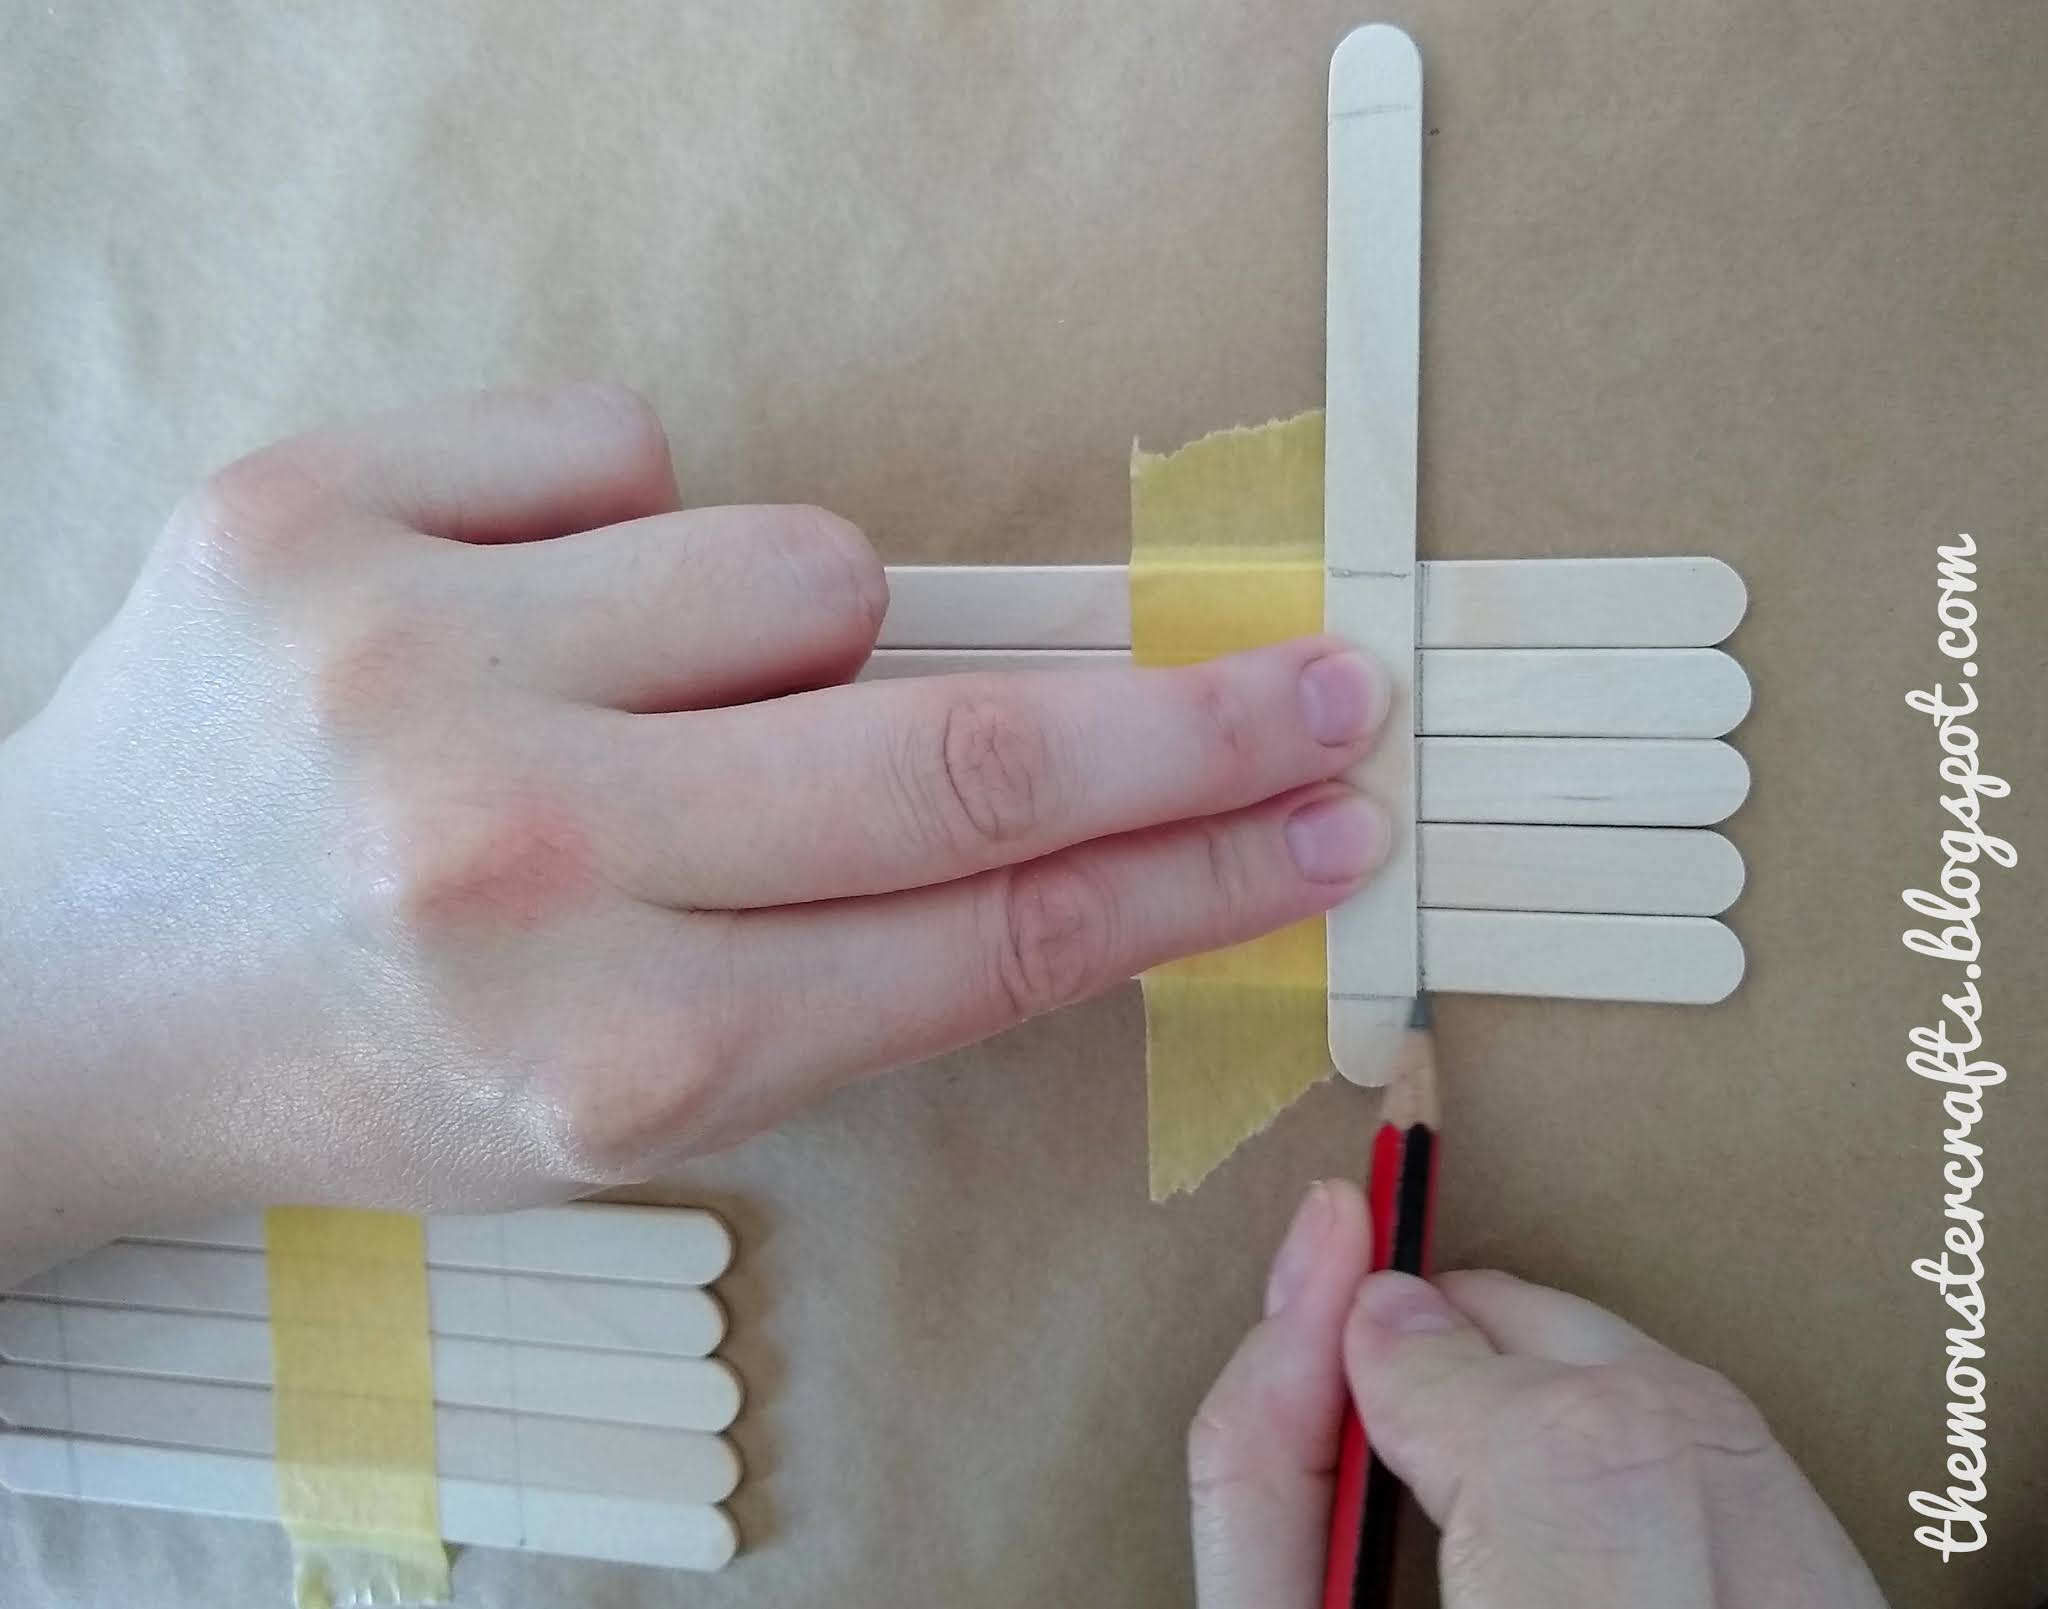
I started by attaching 5 sticks of 2 and 3/4 inches (7 cm) to the table. It's easier for me to work this way to be able to tag my club at the same time. Then I measure the sticks to be crossed.
I measured again to make the sides of the box. You will need 4 pieces on each side. Then measure the 2 intersecting pieces. I cut out enough to make 2 squares before I started gluing because I always pour too much glue and don't want to waste it.

Now it's time to glue the parts. I always use eucalyptus glue as once it dries it becomes transparent and the cup becomes quite hard without a strong chemical smell. I apply it with the oldest brush I have and wring out the pieces. I often weight pieces while they dry.

Now it's time to put the pieces together. I noticed that Froggy put coins in the bottom of the box as he passed through the outside, and I always put them inside. I think it's because it looks cleaner, but I like the "imperfect" look of this board. Since I don't have much decoration either, I thought this would make the shelves look fuller. Here are the photos I took for comparison.

He also glued the sides to the base, while I always glued them to the sides. I'm assuming you're doing it in a way that doesn't increase the height of the shelf. However, I prefer to stick it on the side because I feel like there is more surface to apply the glue to and because it sticks better.

Glue the parts as desired and let dry. I like to press with my fingers for a few seconds and then let dry with something to keep the pages in place.


Finally we have a box. Now let's do 5 more! I was wondering how many popsicle sticks I used to make this craft and thought it might be helpful so you don't run out of supplies. For the base, I used 6 sticks. 6 more sides (3 on each side). For the longer side pieces, I used a total of 6.3 hooks per side for a total of 18 double hooks per square. Since we made 6, you will need 108 popsicle sticks for this craft.
The box can be left as is. Personally, I like to paint it white because I don't like the natural color too much. However, before deciding whether to color her or not, I took a few pictures with my doll to help me decide.


I don't like natural colors, so I went ahead and painted them. I painted the crate before assembling it, as it will be much more difficult to do after assembling the racks. However, if you like natural colors, you can skip this step. This wouldn't be a real monster making tutorial without tricky photos, so please enjoy the photo of my painting, which turned out to be very blurry.


Fact! This is what the shelf looks like. I added a few accessories to make it more complete, but I don't have a lot of decorative items or doll-sized books, so it looks a little depressing. I made two orbital balls from toilet paper rolls following this tutorial . The Baby Pink Box is a little experiment I did to make a vase out of popsicle sticks. I also added artificial plants to add some greenery to the scene.

Now it's time to bring the doll and see how it looks in the scene. For this photo, I created a mini-story where Asha surprises Chloe with two tickets to her favorite band's concert because there is no pandemic in my doll world.


I recently made a light blue background that I haven't tried yet, so I thought now would be a good time to see how it would look on my doll.

I think I really need a non-pink couch because it takes away the realism of the scene. When I finish next semester I might be able to focus on making a neutral color sofa, but for now this one should work.
 |
| Blake |
In general, I am very pleased with this work. I think it looks interesting as a background element and its height detracts from the fact that my walls are pretty bare. I think I was right about painting it white, I don't think I would really like its natural color. Now that I'm white, I have a little dilemma. I bought a tea caddy to make another shelf like the one in my upcycling post . I originally wanted to make two, one in Sea Breeze and one in white. Since I only found one box, I painted it white, but now I feel like I have too much white furniture and I don't know what color to paint it. This is my first choice. What color do you like the most? You can also suggest colors not listed here.
 |
| Coral Blush, Sea Breeze, Turquoise and Dove Gray |
I hope you enjoy this article. This will probably be the last crafting tutorial I can write for a while since I'll be back in college soon and this type of post will take a lot longer. As usual, I didn't get to finish all the crafts and projects I had planned for this summer, but overall I'm very happy with what I did. I had to do enough to activate my photography scene. And what I haven't been able to do is have a project after graduating from university in January.

Before I say goodbye to you for today, a small public announcement: apparently the new Blogger player is in decline and I missed a few articles. I try to manually check my most active blogs every few days to see if they have new posts. I don't know if this will work for you, but I suggest you manually search for some of your favorite blogs just in case. I'm also thinking about using some sort of blog reader until Blogger fixes the problem. All suggestions are welcome.
See you soon in my next post.
monster ship
