Glitter Resin Tumbler with Cricut Vinyl DIY

DIY Glitter Resin Cricut Vinyl Mug
Are you already participating in the Fashion Cup? This was my first time and I love the intense shine! Create a sparkly mug for the perfect DIY gift ... perfect for teachers, friends or family.
Customize with your favorite colors or names and the intensity of the glitter. It's a great reminder to drink plenty of water every day ... or perfect for a hot drink on a cold morning.

It shines in the sun like a lighthouse! Please note this is not dishwasher safe ... but I wouldn't wash a stainless steel mug in the dishwasher anyway. Hand wash for added safety. Let's begin!

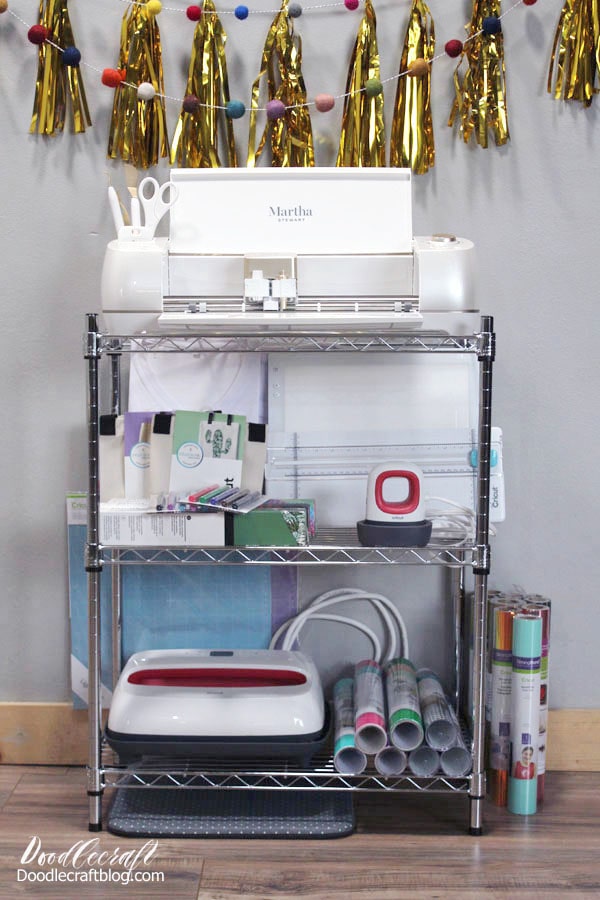
Materials needed for the glitter resin mug:
Chrome vinyl cutting with Cricut Maker
Scotch tape
clean with alcohol
sand paper

Step 1: Medical Alcohol!
Start by cleaning the cup with alcohol.

Step 2: Scottish!
Then seal the top and bottom of the cup with blue tape.

Step 3: sparkle!
Start applying the glossy paint on the visible cup. Cover the cup completely and let it dry. Then mix Chunky Glitter with Modpodge and apply on a cup. Then let it dry completely.

Step 4: Cricut Vinyl!
Use Cricut Maker to cut out a phrase or name from metallic vinyl or sticky paper.

Once the mug is completely dry, sand off the gloss until the surface is smooth enough for the vinyl to adhere. Place a piece of vinyl on top of the cup, just above the sequins.

Step 5: turn the cup!
Now we need a cup twisting station to make the resin.
Mug spinners are cheap enough and popular enough that you will probably need to buy one! But here's a temporary version in case you want to do it yourself.
I used a long pin stuck in the holes in the cardboard box. Then a piece of dough is pressed into the end of the ankle.

Step 6: resin!
Now mix the glossy resin according to the instructions on the package.

Mix well in a two step process.

Now use the stirrer to spread the resin over the glass ... all the way to the bottom of the grill. Rotate slowly and evenly for the first 30 minutes.
This is where a power plant might come in handy! If you have a power plant, run it for 4 hours and then turn it on for another 4 hours. Then change the rotation and run 24 hours at a time overnight.

Use a pipette to squeeze out any bubbles formed after mixing for 30 minutes.

Then rotate the cup 1/4 turn every minute for 30 minutes. Then rotate every 1/4 turn every 2-3 minutes ... and keep rotating for 4-5 hours.
Again, an electric stirrer will eliminate all this extra time.

After 5 hours, carefully inspect the resin and see how it has stabilized. If it still looks messy, keep rolling ... otherwise let it dry overnight.

Then leave it overnight. Remove the masking tape the next day.

Duct tape leaves a clean streak, perfect for drinking or keeping lips off tar. The resin is suitable for food, so it's not a problem, it's just a reassuring thing.

This is!
It looks amazing, even if it's hard to imagine in all this shiny resin glitter!

Enjoy and share!


This is a fantastic color tray with a glossy resin finish!
Here are some useful Cricut notifications:


Follow this link to discover many more things you can do with your Cricut!
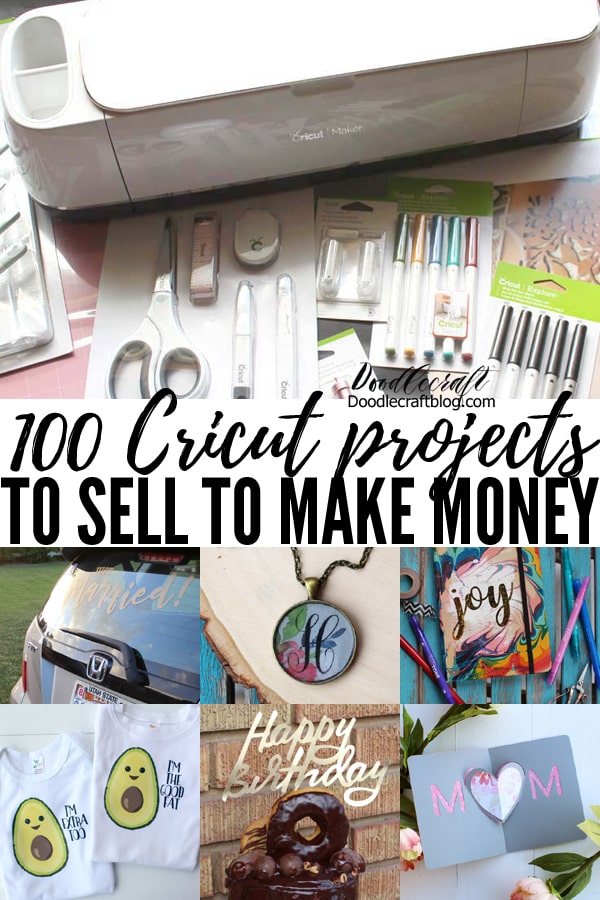
Read this article on 5 ways to make money with Cricut Explore Air 2, which contains important tips that can be applied to any Cricut electronic cutting machine.


This article first appeared in Doodlecraft.


