Floral Painted Easter Eggs Dyed with Tombow Markers

Easter eggs with colorful flowers!
Painting eggs has never been my favorite pastime. I don't like to paint or kill eggs from a young age...but now I'm addicted. It's a simple project. Kill the eggs with the marks, then add a dab of paint to make loose blooms.

This is stunning, would look great on the Easter dinner table...perfect bright colors - pastel colors.
Step 1. Boil the eggs
Cook eggs according to the Hamilton Beach Egg Cooker's instructions. Eggs take about 18 minutes. No brown/blue color around the yolk, perfect every time.

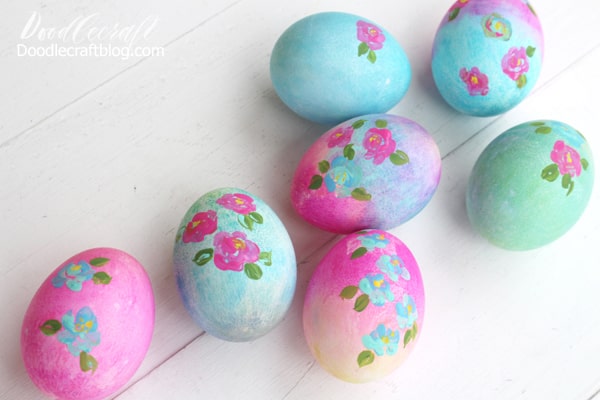
Easter eggs accessories painted with roses.
Step 2: Paint the boiled eggs

To get started, start drawing with a marker on a plastic bag.

It will be weak, but don't worry.

Then spray the plastic bag with a spray bottle.

Place the egg in the middle of the bag.

Find the bag around the egg, and see how the colors mix: match.

Open the bag to see the explosion of color.

Use a towel to gently remove excess ink.

Repeat with all shades և colors. Leave it to dry completely.

Step 3. Draw the flowers on the eggs
Now get your hands on acrylic paint, small round brush.

Do not be afraid of these flowers ... It takes a few seconds - they are very slender.

Hold the egg in your inexperienced hand.

Use a small round brush to add some bubbles.

Then add U-shaped bubbles in the middle.

Again, add bubble wrap around the petals.

Add a few small dots in the middle.

Add hosts և other flowers.

Watch this video to see the big flowers. It will help you feel safe making your own.
End!
These white flowers are simpler because I wanted to show the color we feel from a small space...they have more watercolors.

I love to communicate և share.


