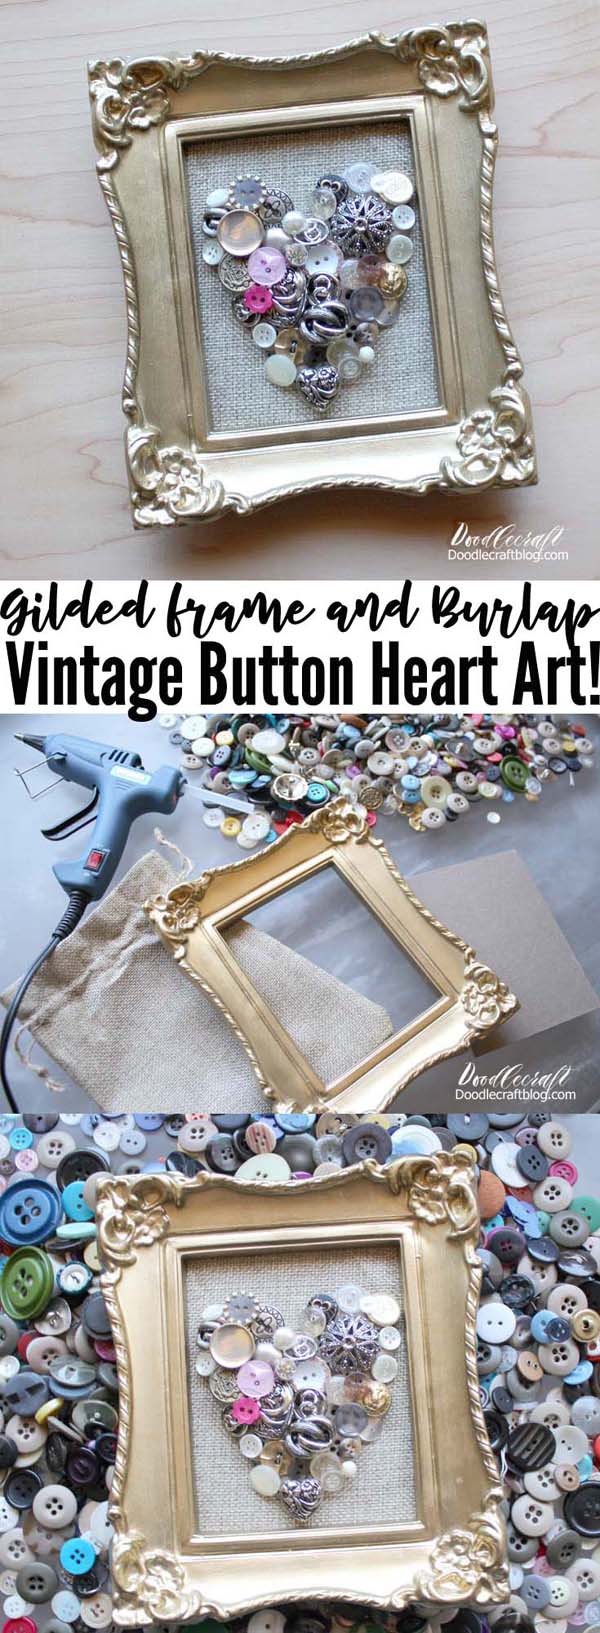
How to Make a Vintage Button Heart Frame

How a Vintage Heart Button Frame Works!
Learn to create a vintage vintage heart in a decorative frame. Take these old vintage buttons from a cookie jar and turn them into a beautiful home decor. Collect some items around the house or go to a dollar store to find the items needed for this craft.
Can be created as a wonderful handmade gift, Valentine's Day decorations or all year round, and also as a children's handicraft project!
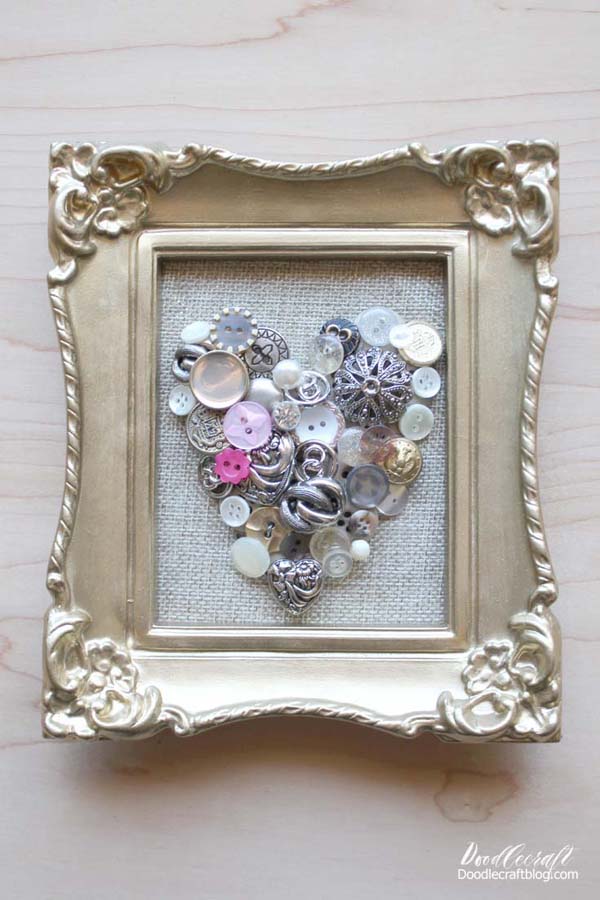
I love the combination of old and new. Rustic and polished. The opposite of this pole forms an ideal pair. This button picture is bright and classic ... with a canvas and a gold frame!
Easy to do and you can believe it only takes 15 minutes !?
Quick DIY is my favorite. Some tips and a little time will make it the perfect outfit for Valentine's Day or any day of the week. We can all use a little more love in our lives, can't we? This heart is perfect.
Personalize this heart as you wish. Take the key to the deceased's clothes and make a small box for the family members.
Use old granny buttons and wine frames to enhance the touch.
Ask your grandchildren to choose the frame buttons.
Let's get started!

Delivery required for vintage button heart frame
Vintage frame (or similar)
Particle board for inserting into the frame
Burlap for chipboard coating
The keys
Hot glue gun

Step 1: Applause
Start by cutting a board 1/2 inch larger than the chipboard on each side. Fold the jute with a little glue on the edges. Repeat for all four sides.

Cut out the corners and glue them together so they don't separate.

Return the chipboard covered with chipboard to the frame.

Step 2 Button base
Now it's ready to fill with buttons! I chose silver, gold, glitter and glitter. But get creative! Rainbow color, amber trim, a random combination of old grandma's buttons - lots of fun ideas!

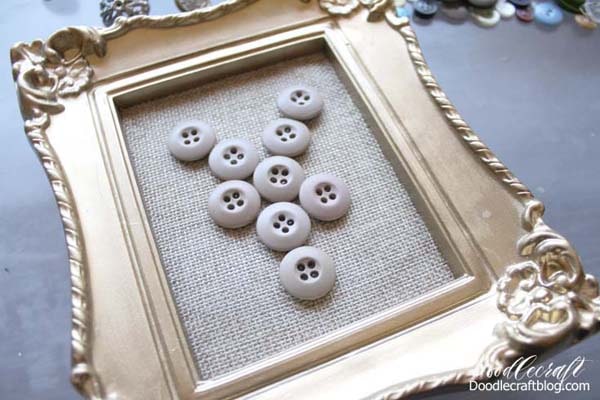
First, hold down a few simple buttons to raise the bar a little. Keep them warm in the shape of a heart. If you need instructions, draw a heart on the canvas with a simple pencil.
I use buttons on old military uniforms ... the color is very nice and goes well with balloons
While my husband was in the army, he kept all the keys to his old, worn-out military uniform. He brought home a pot full of peanut butter, better than a bouquet of flowers. Many of them were so sad and sorry that I took them as the foundation of my heart ...
But I also understand that he is my heart, my foundation and my love ... so it works.

Step 3 Favorite button
Now fill in the blanks with more beautiful buttons. Just apply and attach the hot glue to the back or buttons.

Fill in the big and small buttons to create a round heart shape.

Add more buttons until the original buttons are less clear.

Step 4 Color Buttons
Then add a little pop-up color for fun! I made 2 pink keys.

No more!
Now it's ready to load, display and display at home! I love this cute shebby chic!
This is a great gift offer!

Like, save, share, comment, track and fix!
See also this button image


Happy DIY!


