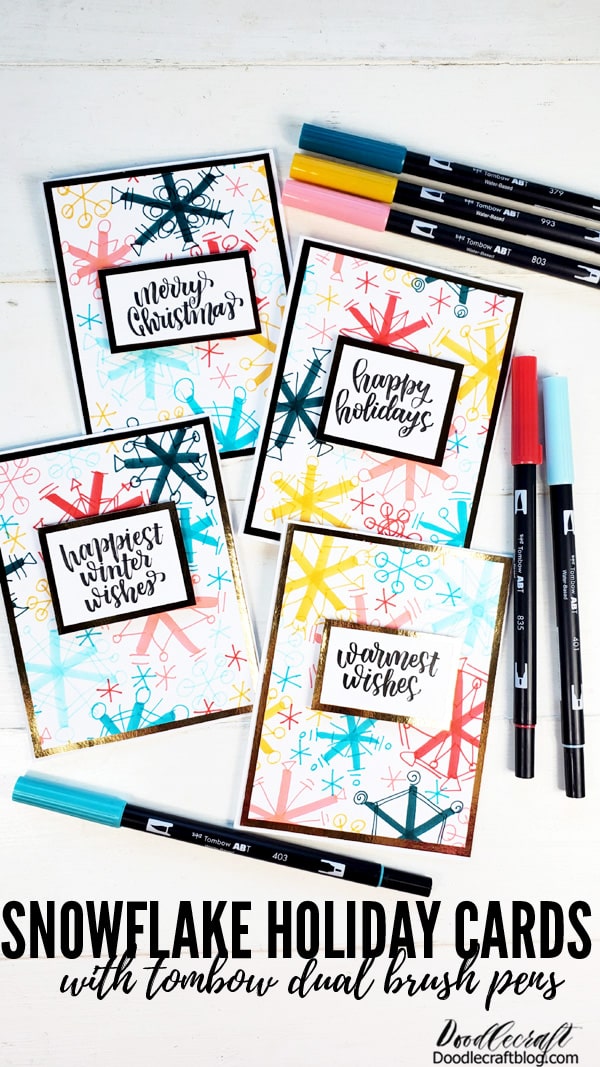
How to Make Snowflake Holiday Cards

How To Make A Snowflake Christmas Card With Tombow Double Brushes |
There is something magical about making holiday cards with your own hands. Today, Tombow has the perfect VIP Club Box , which has everything you need for the perfect Snowflake Christmas card. These beautiful postcards are perfect for sending an email or adding a gift as a luxury label or gift card holder.
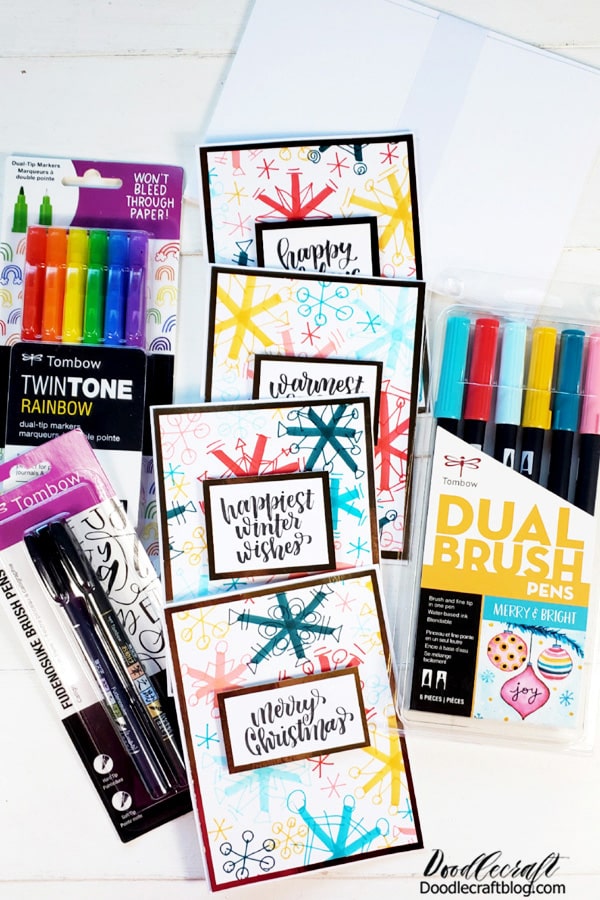
Material for these Christmas cards with snowflakes.
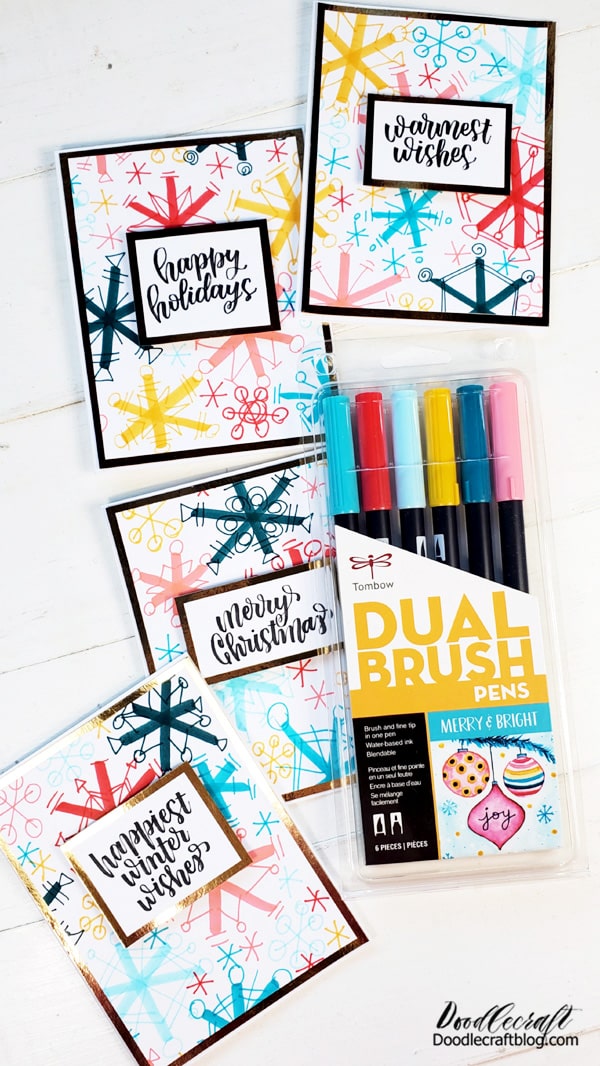
Double brushes Tombow Merry and Bright, 6 pieces. in the package (available in the VIP package)
Tombow Fudenosuke brush pens (available in VIP box)
Tombog gum cylinder
gold paper
White cardboard
Tombow mounts foam

Here is a 30 minute video of the process, printed up to 2 minutes.

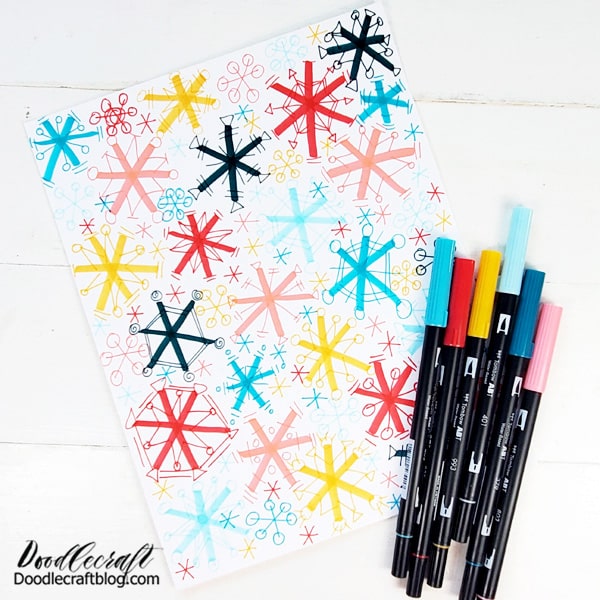
Step 1. Snowflakes
Start by filling a piece of white cardboard with retro-style snowflakes with the Merry and Bright Twin Brush. You do not have to be too precise or careful.

I like these retro-style snowflakes with thick and thin lines. Large circles, lines և strokes. It's a perfect snowflake background.
Step 2 - Cut the paper
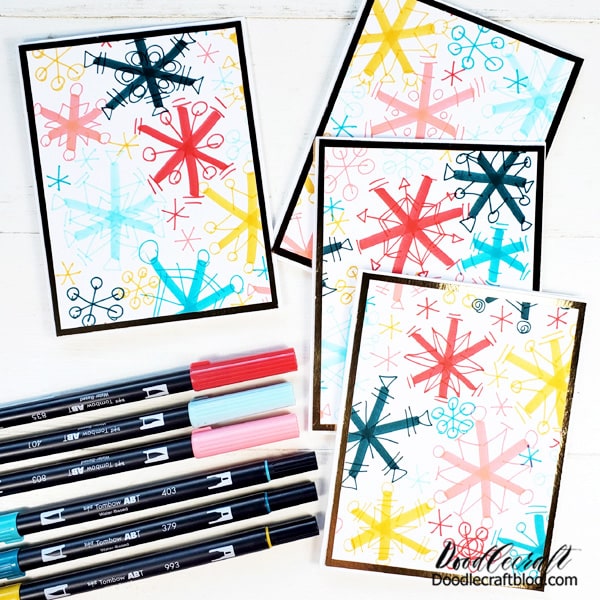
Now that the page is filled with snowflakes, cut it into four pieces և cut an extra 1/4 inch from each edge.

Cut gold cardboard 1/8 inch larger than snowflake paper և put them together. Then cut 2 pieces of cardboard in half, fold it in half to get a perfect cardboard, and leave a small side again.
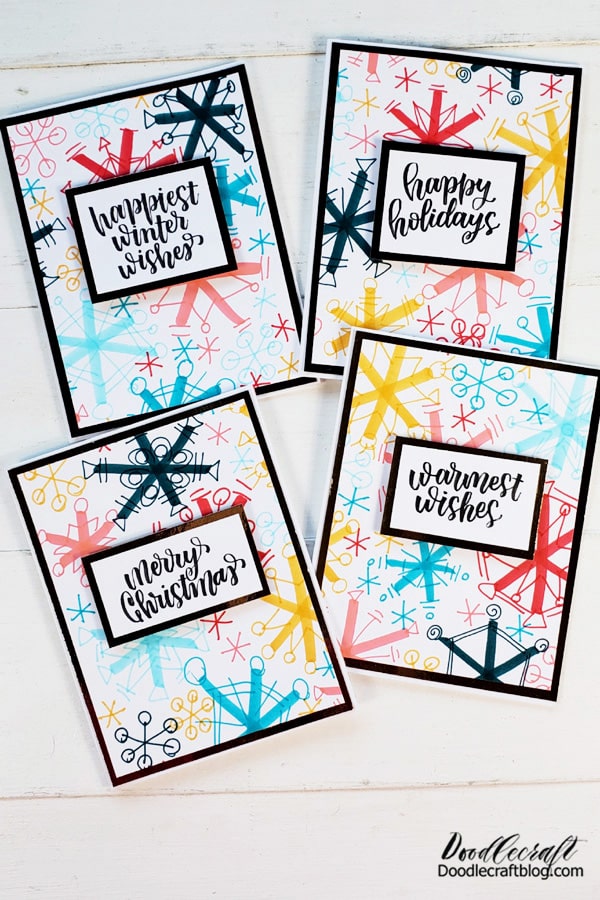
The cards are very cute, they can end up the way they are ... or we can do it one step at a time.
Step 3. Handwritten emotions
Use Fudenosuke markers և write a little Christmas mood. I love writing about Christmas, the words fit so well together. What other holiday greetings do you like?

Then cut out the emoticons և the cape դրանք and paste them on gold cardboard in a 1/8 inch frame.
Step 4 - Install foam
Finally, on the opposite side of the handwritten emotion, adjust mounting foam and stick it on retro snowflake postcards. They look beautiful and ready.
Layers are perfect for sending USPS mail, so there is no need to manually scan or add additional stamps.
The Merry and Bright Twin Brush Markers 6-Pack is a very unusual color palette for the holidays, but it works. I like pink with blue և yellow. What do you think of this color palette?
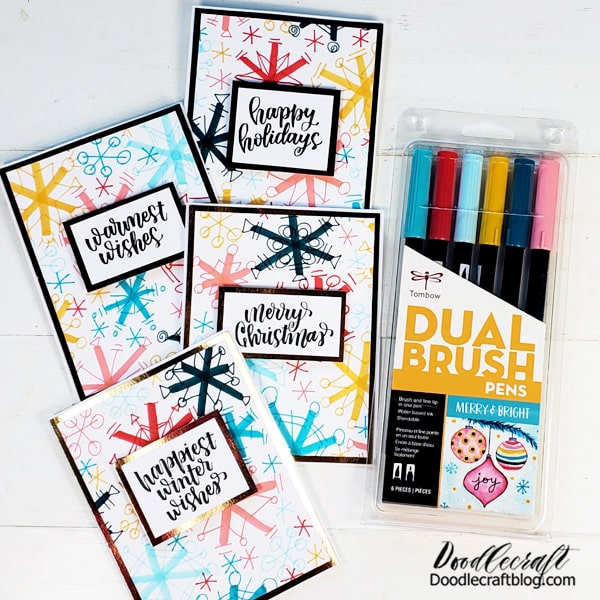
The VIP box comes with a large variety of consumables. It will be a wonderful gift for those who want to be creative ... or make the perfect holiday gift - postcards, labels - handmade creations. Like a versatile bag to move food from place to place.
What I like most about TwinTone characters is that they take notes, keep a diary or write letters. I like double brush pens for watercolors, wallpapers, drawings, etc. Fudenosuke pens are my favorite Tombow product.
They are perfect for handwriting calligraphy, in perfect size ... I just want them to be in hundreds of colors.
Get the VIP Club Box today before it goes on sale.

End!
Like, post or share please.