How to: Doll-size crate console. An experiment
If you've been following this blog for a while, you probably know that I'm creating walls and props for my pop photography. My goal is to have a set of props that I can mix and match to add a sense of diversity to my photos. Rather than make a big diorama on a theme, I have no room to adjust. I made some based on other people's ideas and others are my original ideas.

When I madea doll-sized crate bookshelf , I started thinking of other types of furniture that could be made with crates, but it did not last long. So I came up with the idea to make a pop size console with just two squares, so that it would be easier to make multiple squares of different colors. I'm not sure if this console is the right name for this type of furniture. "Furniture", as I understand it, can be furniture that can often be found in the hallway where you can leave your keys on the way home.
Since I do not have a visual reference for this craft, it is quite difficult to see the end result. I made a few mistakes, but luckily there is nothing that can not be fixed by doing the second version of this craft. Due to pandemic related restrictions, I am also unable to get all the supplies I need, so I have to work with what I have at home. In short, we can not wait.
For this job you need:
- popsicle sticks.
- There. I always use white glue, but hot glue is good.
- wooden pens.
- Ice cream sticks to cut a pair of scissors.
- Small saw for cutting wooden pegs.
- Handmade painting.
- Paintbrush.
I made a few posts to try and figure out how to make a doll size box, but decided to try a new box design for this project. However, if you decide to recreate this project, you can do so using the original box design.
To determine the correct size for this craft, I drew two 6 cm wide rectangles on a piece of paper to compare next to my doll for visual reference. Here is a comparison with my colored squares.

I started as usual by threading 5 popsicle sticks and 6 cm (2.36 inches) together.

Cut them from the drawn line. For this I use pruning shears, which greatly simplifies the cutting process.

Put all the cut stems together. Measure it to pass the stick. I made it slightly shorter than the width of the stick. This will be the back of our console, so we do not want the stick to reach a climax.

Paste it across. I glued it a little off the edge. Smooth the edges if there are imperfections.

Measure the stick the same width as the long strip and cut it.

You need to cut 4 on one side of the square.

Measure and cut to cross the other two halves as we just did. This time we are going to glue it close to the edges. You need to make these two sections, one on each side.

Now it's time to get together. We take the first part we made and put the bare side up (so the cross section should face down). Then stick one side of the bare face.


Repeat with the other side. You should.

Now it's time to "connect" the two sides. Let’s start by measuring the curling iron to the same width as the space.

Cut and paste. Remember to start at the top and bottom and save the middle for last. Also remember that you have to do it on both sides.

Finally our box is ready. Here's a comparison with a simple shaped box so you can easily see the difference.

Make two squares. You can work on both at the same time or individually as you prefer.

Now it's time for my favorite part: painting. I chose Coral Blush in Americana Acrylics because I wanted something light to add some color to my background.

I like to paint the pieces before gluing them on and touching if necessary.

After the paint dries, it's time to stick it on. Try to hide errors that you can insert.

Well, this is where things start to go wrong. Because I was busy with other things, I left this project for a few days and did not have time to finish it. I was planning to end the weekend and wake up with a migraine that lasted 4 days. I decided to keep working the first day when I felt better and maybe that's why I did not make the best choice. But let's go on.
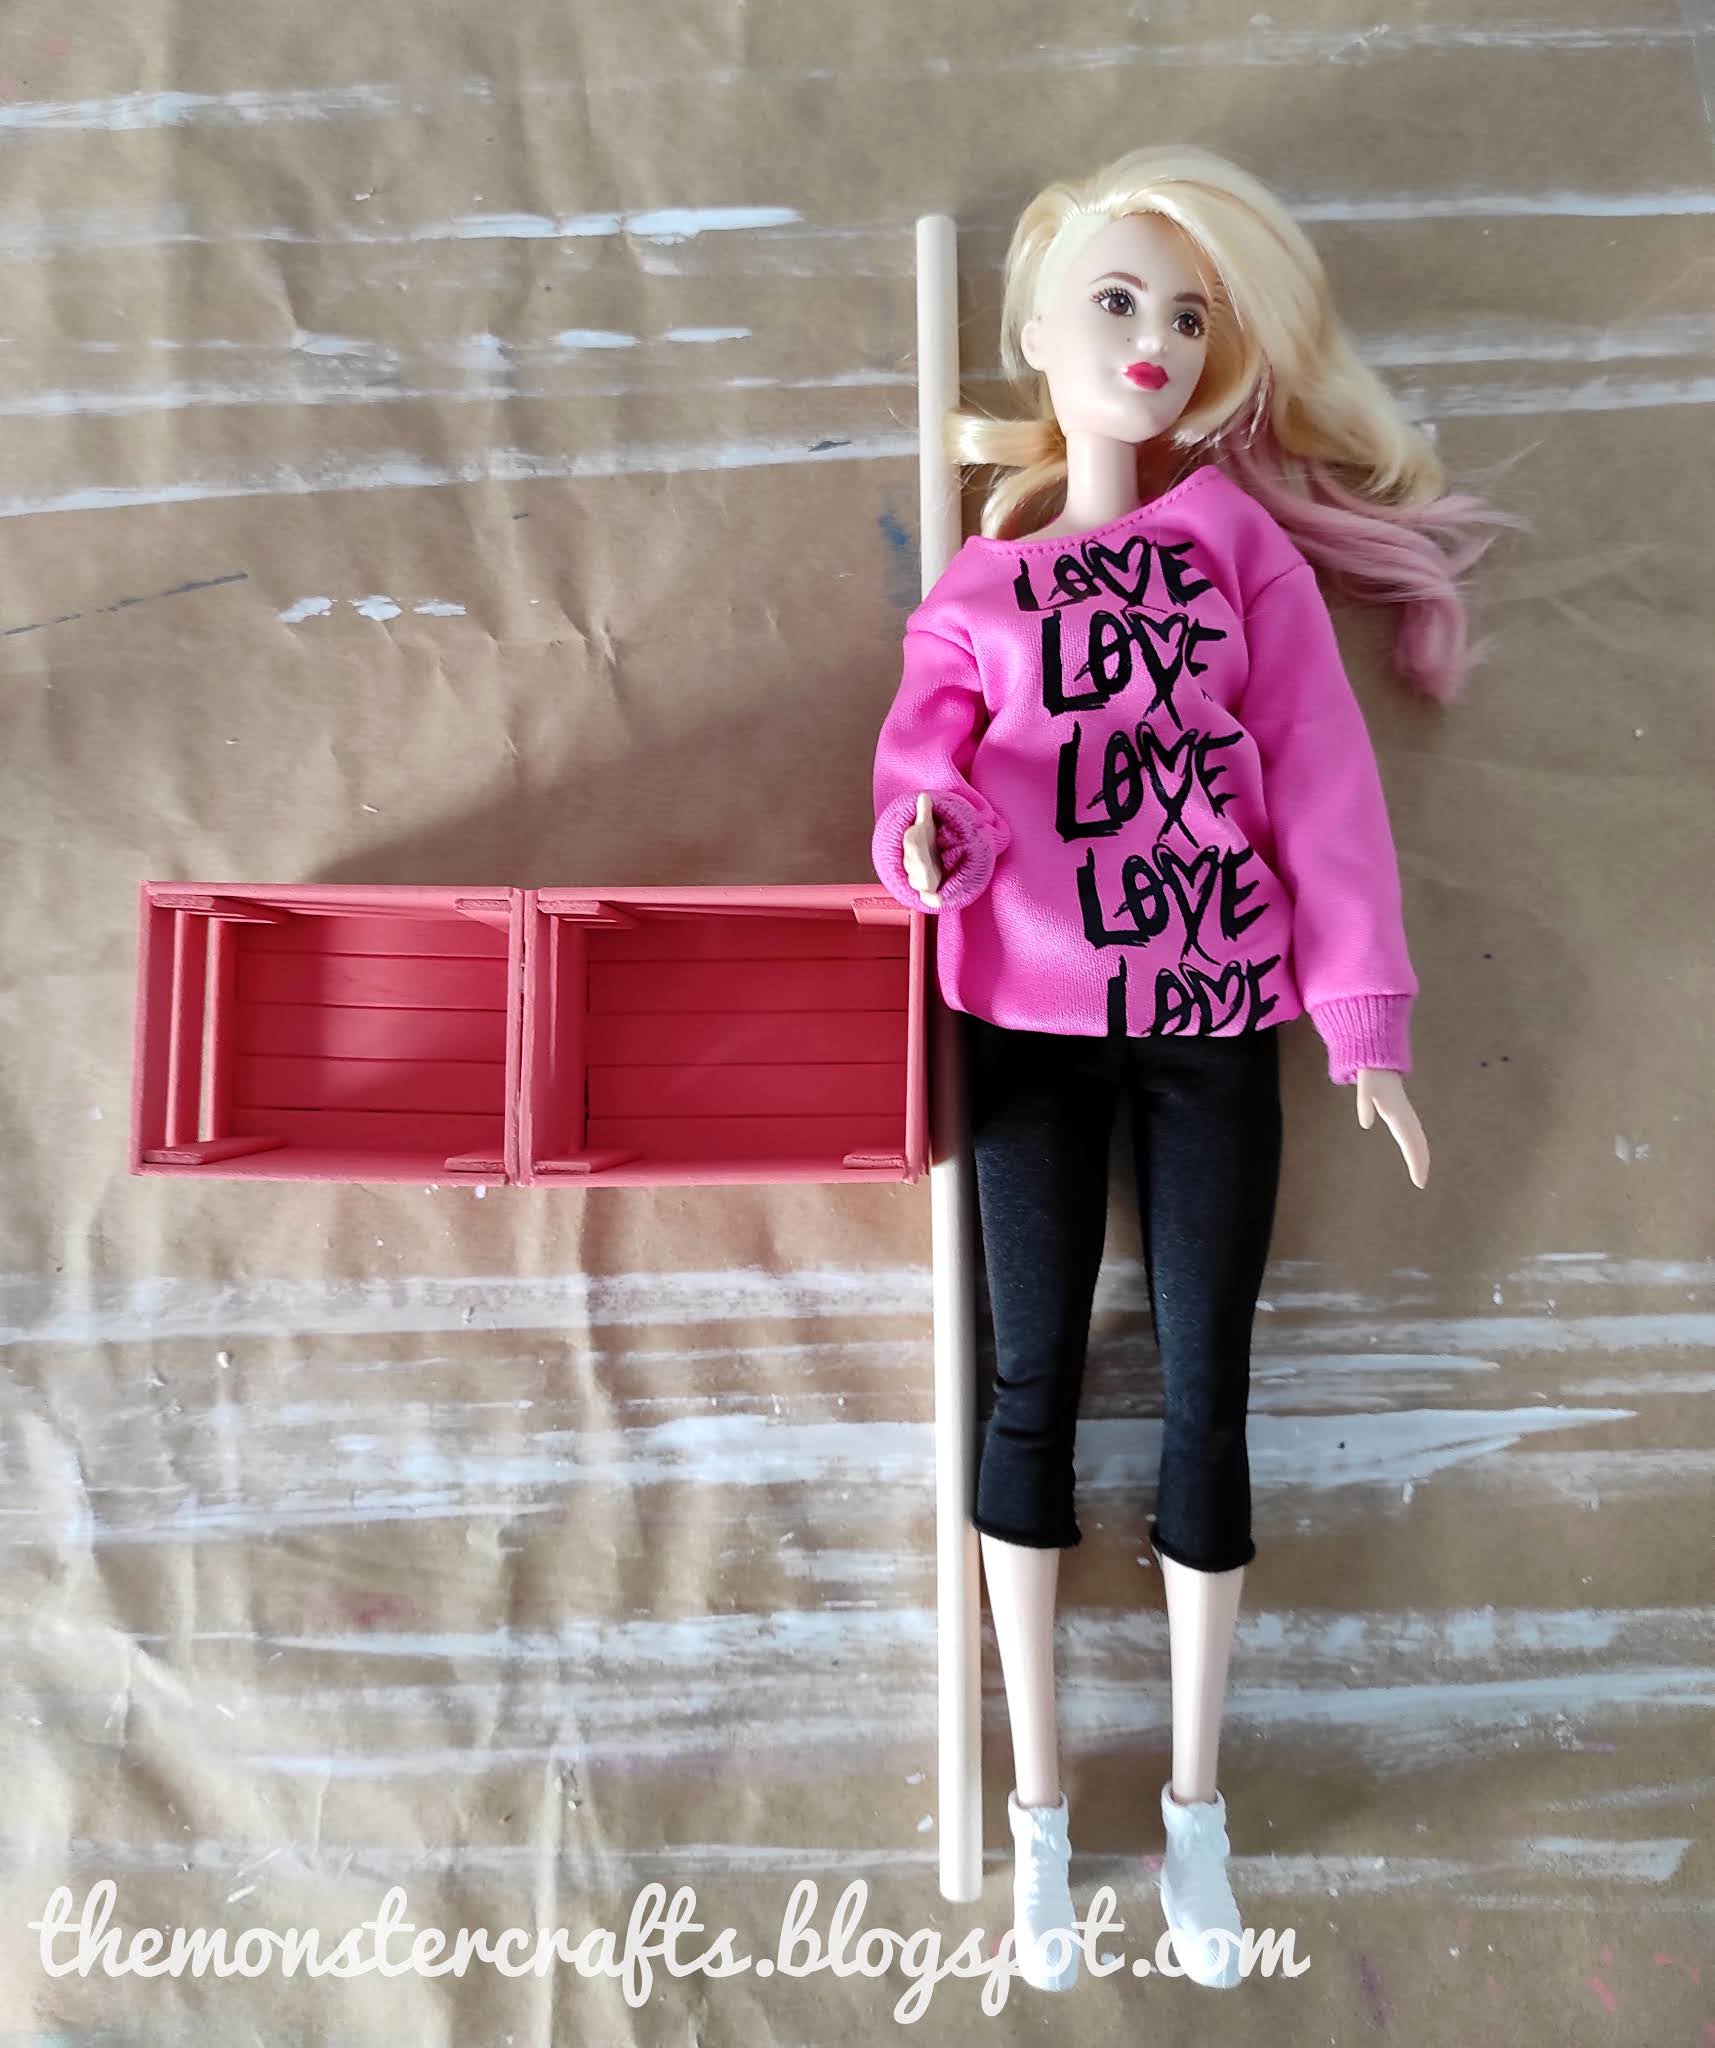
Now it's time to start exercising your legs. In my original idea, I wanted to use square foot, but could not find any square wooden sticks or handmade sticks anywhere. When I started the project, the situation here was quite worrying and due to stricter restrictions I decided to use what I have at home, which is a pair of round wooden heels. I opted for a thinner one.

I took the doll as a guide and thought it was the perfect size at 12 cm (4.72 inches). Spoiler alert, I'll find out later that they're too long.
Now it's time to cut them. I chose to look at this with a small hacksaw I have around the house as a pruning shears can leave marks on your heels. To see it, hold it with a screwdriver or ask someone for help. For me personally, it feels easier than using the hug that Master Monster holds for me.

If you make a mistake to cut, grind it.

We have this. You have to do 4.

Now it's time for the coloring process. This is a small experiment as I have never dyed it with acrylic wood. I tried two techniques: First, I mixed some brown acrylic with light Podge (similar to light and medium acrylic paint). Second, I diluted the brown acrylic with water. I saved the remaining popsicle sticks to test the dyes first and choose the technique that works best. I chose a thin water-based acrylic.

As you can see in the photo below, the brown I chose was a beautiful purple. So my heels look like a coat.

Since I found that this color does not match the box, I tried to warm it up. I mixed the water with another chocolate, Americana 's Dark Chocolate , which was fortunately warmer underneath. I had to apply two coats of warmer brown on my tiles until I had a color that I was comfortable with. Despite the initial mistake, I am very happy with the end result. If that does not work, my "plan B" is to paint it light brown.

Do I remember saying I'm sorry it took so long? Well, I did a little test before I pasted it next to my doll, I did not like how it was. Then I cut 1 cm from each stem to finish with 11 cm ( 4.33 inches ) feet. So yes, if you do, make sure your foot size is correct from the start.
Now it's time to put the legs together. Before I started, I measured and marked where I wanted my feet because I could not see them.

Glue them together and wait for the glue to dry. Turn: I put too much glue on one leg, it accidentally slipped off and not in line with the front one.

Now it's time to dump her and move on. I will not lie, I thought it was awful. The proportions were not very good and it was clear that his legs were too long. I also thought if I could get a tick it would be stronger. I feel pretty disappointed.
 |
| test shot |
Although I did not like it, I decided to give it a try and try it in one scene. To my delight, it does not look as bad as I thought it would.

The proportions are not right and the color does not come out as expected, but that is not a bad start. Please note that this is a photographic background only, not a focus.

Overall, I am very happy with this project despite a few bugs. Would love to do it again, but with some adjustments to try to improve (namely shorter legs). Now that things have calmed down, you may want to go outside and look for some square stumps. I would also like to start working on crafts and other mini furniture that does not have ice cream sticks. I like to do it because it's pretty easy to find and work with most people, but I also like to try new things.
In my next post I want to talk about the upcoming Monster High reload. I know I'll be late to the party, but I really wanted to think about it instead of rushing to text and break the news. After that I do not know what to write, I am quite "lost".

I also completed an HTML course last week. It has a second part that is deeper, but I decided to take a break this week so I can work on some content for my blog. Then Mr. Monster continues to work from home. He was supposed to stay home only for a month until mid-February, but his company decided to stay home until mid-April. I like it because it accompanies me on my home improvement projects and he likes it because he can wake up later.
So what do you think? Would you do something similar? Do you want to see more "spoon furniture" or are you tired?
I hope you are doing well and we will see you in the next post.
monster vessel
See the doll craft label for more craft projects.


