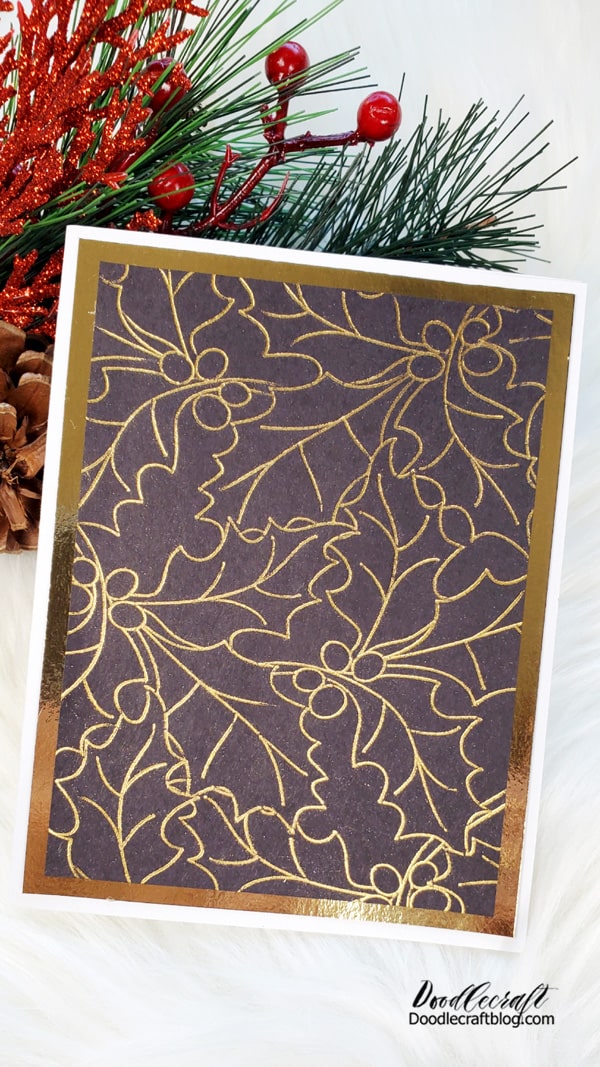
Holiday Cards made with Cricut Foil Transfer Kit
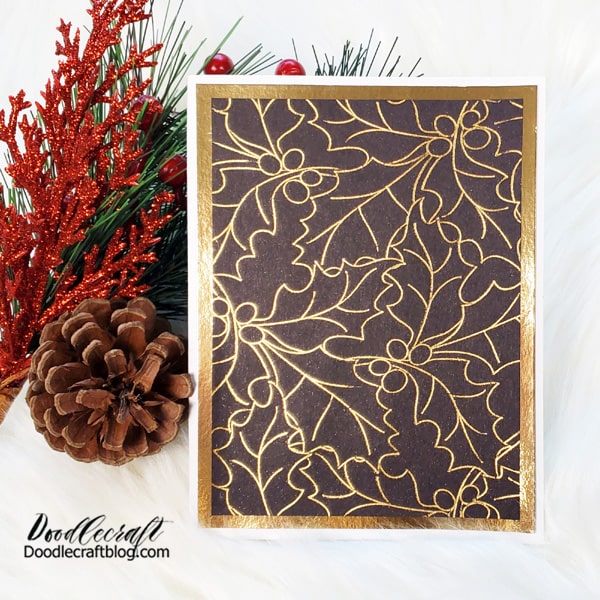
Holiday cards created with the Cricut Foil Transfer Kit
Hi friends! I'm really looking forward to this weekend, but do you know what that means? Christmas is coming soon ! If you love making Christmas cards and gifts, you should start early so you can enjoy your vacation with less stress and less last-minute appointments.
This is a wonderful Cricut paper card that takes 5 minutes to complete. Leave the machine on while you clean up the kitchen or burn that pumpkin pie, and you can start a vacation in just one day... Plus, your kitchen is clean and you've got a cake!
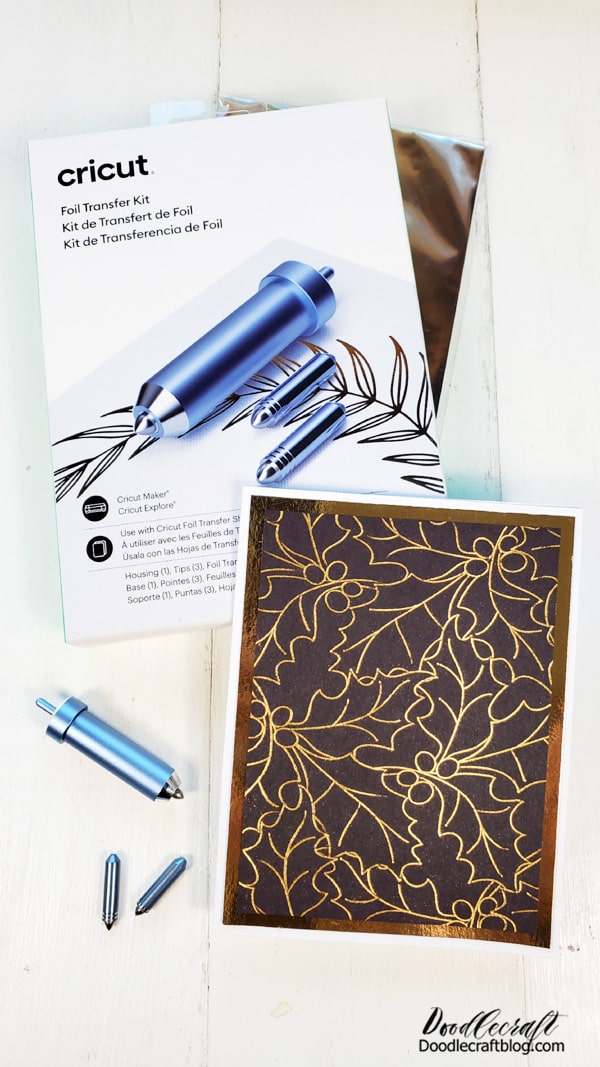
Last year Cricut released this paper transfer kit and it's a heat-free solution for great paper effects.
Discover now the FOIL TRANSFER KIT at an exceptional price!
Materials needed to make paper cards:
card role
cola

Step 1: Read the instructions
Do I know? This is a step that no one really wants to take. Cricut has made using its tools so easy that all you have to do is look at the instruction page. The Cricut Foil Transfer Kit comes with 3 tip sizes and a box . It also includes 6 gold pages, 6 silver pages and ribbon for the edges.
Open the Cricut Design Space and locate the "DRAWING ONLY" image. Find an image you like and add it to your canvas.
Then click on the Linetype tab and select the slide setting with the pen size you are using. Then the program will show you the slide tool layout and you are ready to draw.
Step 2 - Insert Foil Tool
Cricut Design Space asks you to select the type of base you want to sculpt. I make postcards, but I can't wait to test the cover!
You will then be asked to insert the aluminum tool into the B axis of the machine, in this case the Maker.

Step 3: place it on the page
Use a light mat and place the paper. Then adhere the paper using the adhesive strips included in the Cricut Foil Transfer Kit .
Upload the mat to the Cricut machine and click Continue!
Don't forget to make sure the project is running smoothly...once you've run it, clean up the kitchen until the "Transfer" tool has done its job.
Remove the mat from the machine, remove the paper from the mat by folding the mat over the back of the paper.
Then cut out the sides and glue the paper to the card. I added an extra layer of pizza paper! I love its elegance and simplicity and look forward to creating greeting cards and gift tags.
How will you use the Cricut Foil Transfer Kit ?

For a limited time , get a Cricut Foil Transfer Kit for $27.99 instead of $39.99! A great way to add a bit of glamor to your projects!

That's it!
Please like, anchor and share!
Are you trying to decide if you want to buy a Cricut machine?
Or start a Cricut business?
See this news:


