How to Make Sublimation Mugs with Child's Art
How to make a sublimation tour with children's creativity!
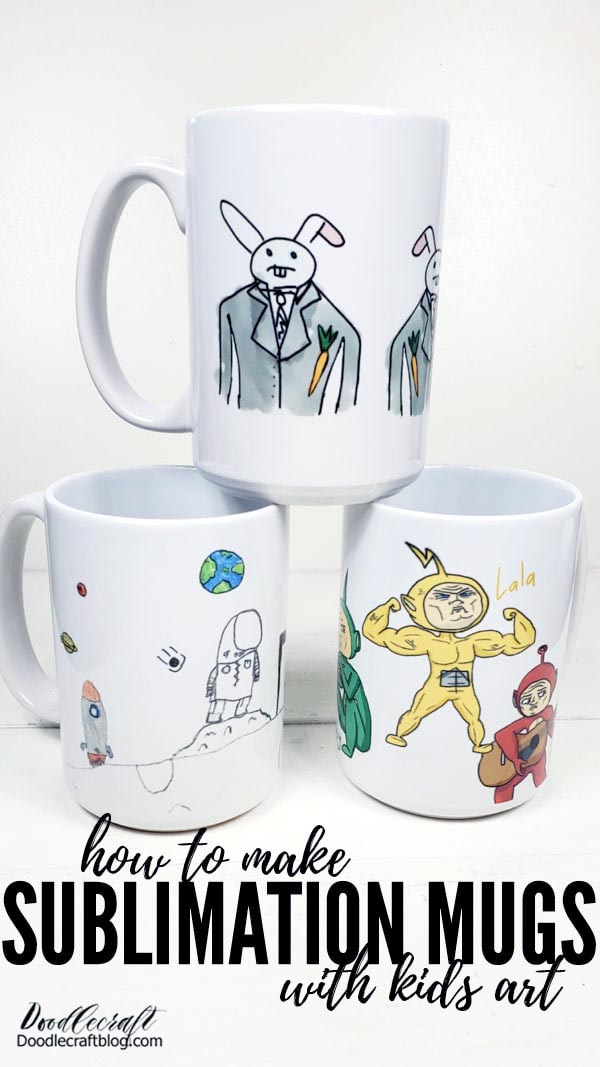
Turn precious childhood art into the perfect cup for memory! This is a great way to turn a photo stuck in the fridge into a handy treasure. A personalized sublimation mug is also a great DIY gift! Get a sublimation printer and make these fun cups for Easter gifts, teacher gifts, mom's day, dad's day, birthdays and more!
I'm sure you have a lot of art to immortalize in a mug!
The best part. These cups are safe for washing dishes and microwave. Wonderful!

This is the biggest project I want! Maybe I like it a lot because I made these mugs for my kids for Christmas. But in fact, I think I did it myself.
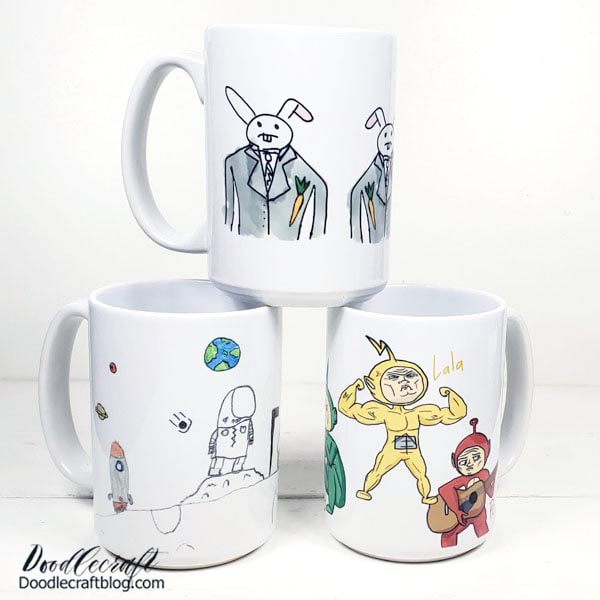
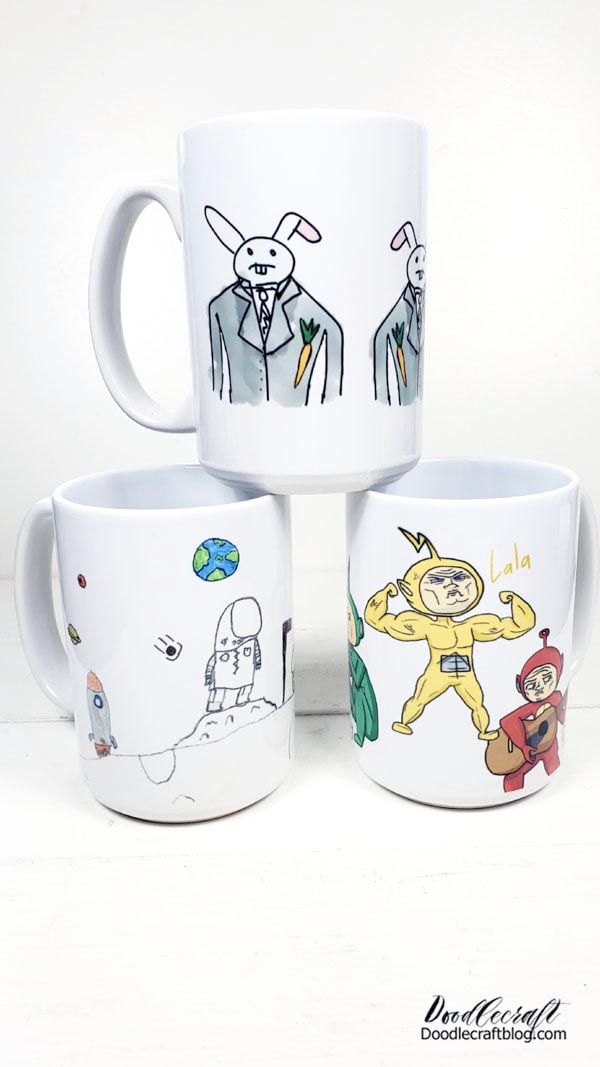
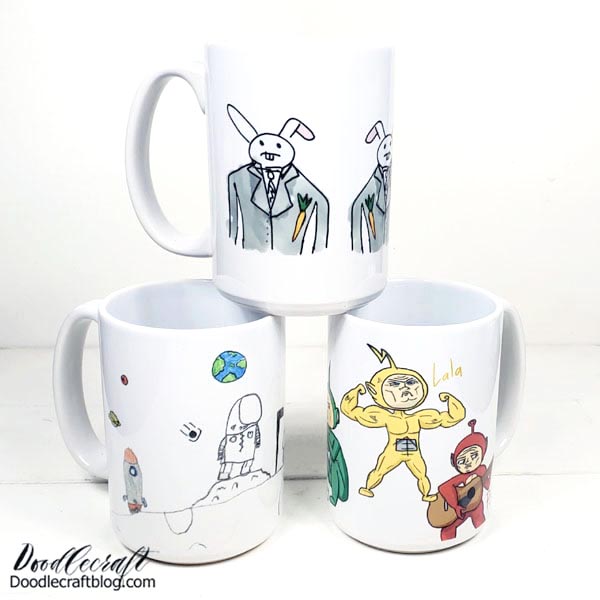
I found an old work of art that each of my kids used to draw when they were little. My kids open the cups as their first Christmas present. I started with the big boy. He drew a character we called "Business Bunny." He laughed when he opened it!
I repeated the business bunny photo 3 times in the cup to fill the space and make it more fun.
After that, my youngest son opened his cup. The tour features a small astronaut, an astronaut dog and a spaceship. This seems to be the only picture my son has ever drawn and colored. I'm so happy to find it on a deck of letters!
I love how you can tell he drew it with crayons and colored it with crayons!

Finally, I asked my daughter to open the cup. He is an animator on YouTube! He earns from his YouTube channel, Kazoo Does Art , which has over 100,000 subscribers.
I have seen my kids open their shoots and in their collection of art projects over the years, I wonder what could be in a cup !?
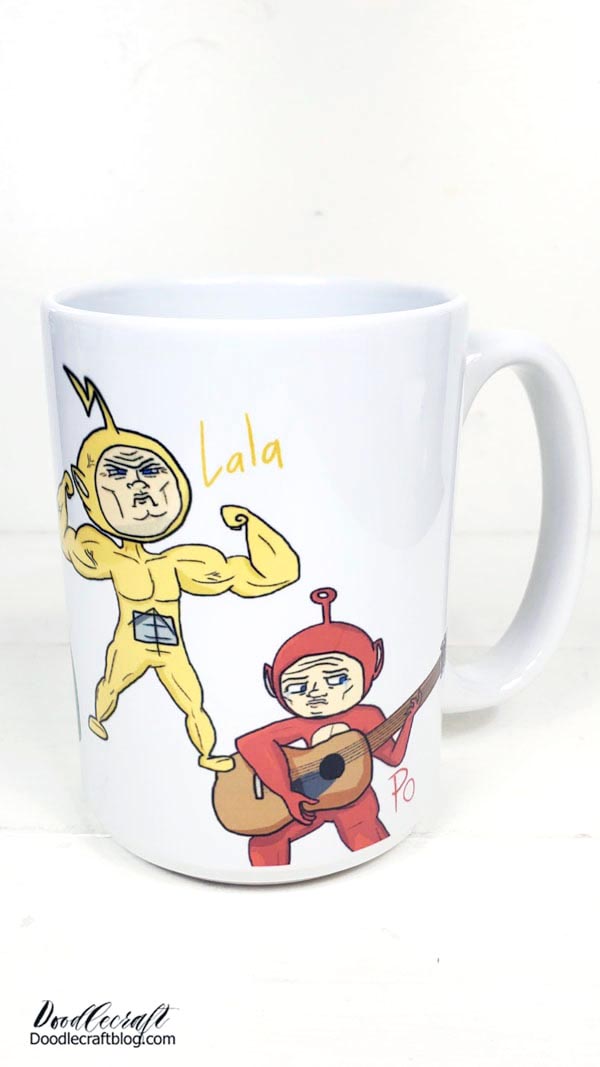
Correctly! A scary / emotional image of Teletubbies! I love these guys! Looks like a cup you can pay $ 28 for Hot Topic!

I painted them one by one, but scanned them all and combined them into one image for sublimation.
You really do not like it !?
Materials needed for the baby sublimation tour:
Epson EcoTank ET-2760 Wireless Printer All-In-One Supertank Without Cartridge
sublimation letter
Hiipoo sublimation paint for EcoTank
Circus tour press
Cricut thermal tape
turi sublimimi
Children's drawings (numbered, scanned or copied for later printing on a sublimation printer )
Step 1: Set up your sublimation printer !
Start by configuring your sublimation printer. This requires special ink and special paper. It sounds complicated, but it's actually very simple.
Here is a complete configuration guide.

Step 2: Print your photo in reverse!
After setting up the sublimation printer , use the sublimation paper and print the photos upside down!
That's right, rotate the image horizontally so that it prints backwards. So when you wrap the cup with ink, the text and images will line up in the right direction.
* How to use Cricut Infusible Infusible paint for mugs as in this post.
** Heat-activated specialized sublimation ink, so your prints will look very faded. Do not worry!

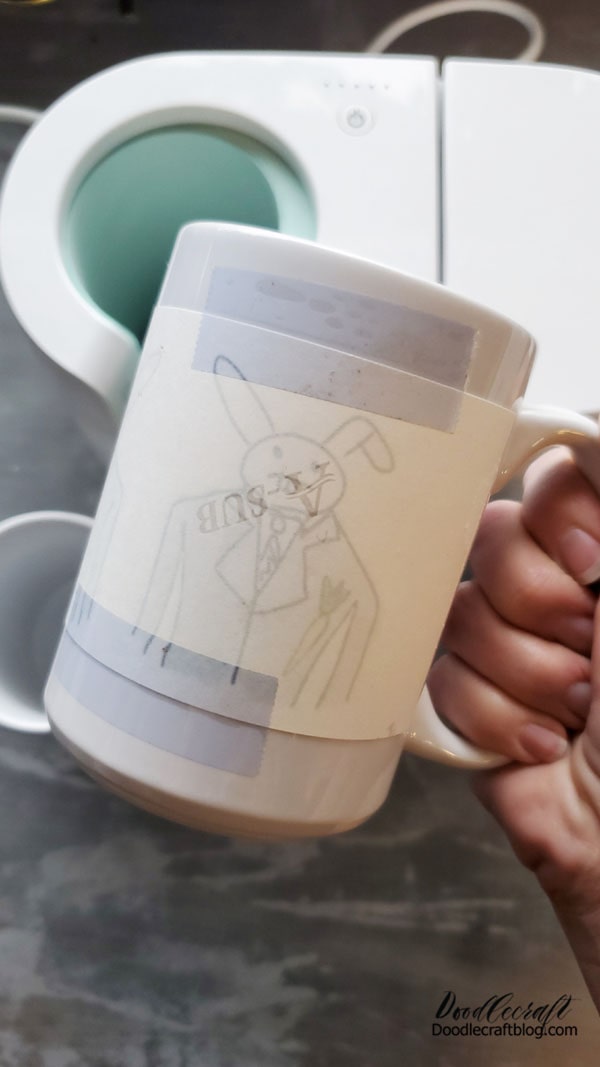
Step 3: Sublimation tape on the mug!
Cut the sublimation letter to the size of the tour. The picture should be 8.5 x 4 inches for these 15 ounces. Gota.
Then rotate the image so that the ink side touches the ceramic cup. Then use heat-resistant tape to secure it around the edges, up and down.
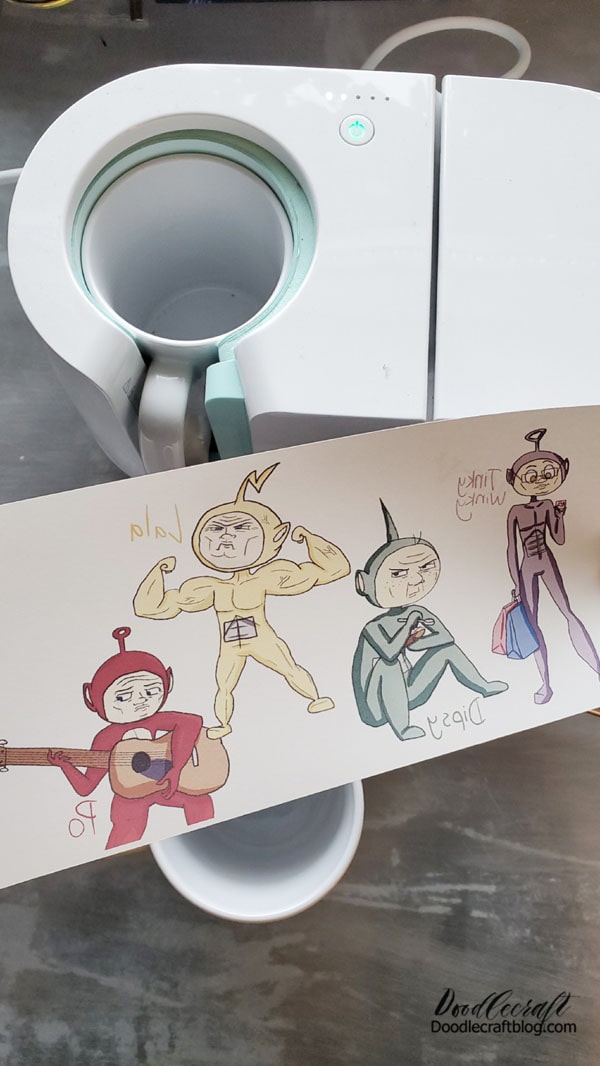
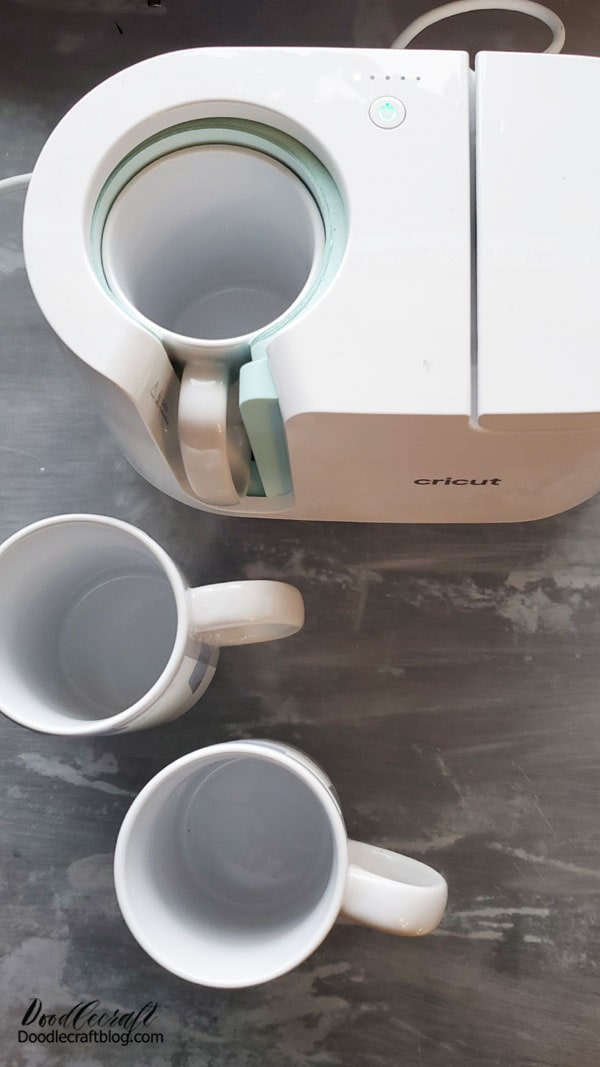
Step 4: Use the Cricut Tour Suppressor!
Place the piston in the holder bowl and wait for it to really heat up and give the green light that it is ready. If it does not start to heat up, log in to your computer and download the updated driver.
Now place the cup on the Cricut tourniquet and close the clip. It takes about 5 minutes for the cup to really heat up and make the image look magnificent. Wait until all five LEDs are on and the device is off. Then remove the cup and carefully remove it from the piston.
Very hot! Set aside to cool naturally.

Repeat the heating process for each number of cups! This is actually a very quick project that can be completed between unloading and loading the dishwasher.
But again, allow the cup to cool completely before removing the tape and paper. It’s hard to wait, especially since you really want to make sure it works!
understand. Just take one, then take a shower, clean the house, take a nap, watch a show or go for a walk ... then get a newspaper and see how it goes. Like the rest of the sublimation mugs!
Step 5: Great breakthrough!
Honestly, this is the best part of the whole world! Seeing this childish art come to life in a mug is so enjoyable. Remove the heat-resistant tape and remove the sublimation paper.
Repeat the discovery process for all sublimation glasses!
That inspired you to try it !? This method is great, but there are many other things you can do with your sublimation printer , so do not be afraid to invest.
During the year I will have more fun with needlework and on Christmas Eve I will have a big profit. The same method will work on any sublimation gap, check out this post for a good list of sublimation gaps. Be sure to call it "sublimation" because it has a special coating that makes it work. Besides, the sky is the limit!
T-shirts, pillows, mugs, key chains, puzzles and more! Make the holidays more personal and "handmade" with photos, photos and special memories from the past.
Is your head full of great sublimation ideas right now?
me too.
I have a lot of fun ideas, the workshop is really full of materials ... and time is limited. Uh.
But I'm glad I made these souvenir cups for my kids ... or for myself.
Like, install, share and save for later!